
Last updated November 2, 2026
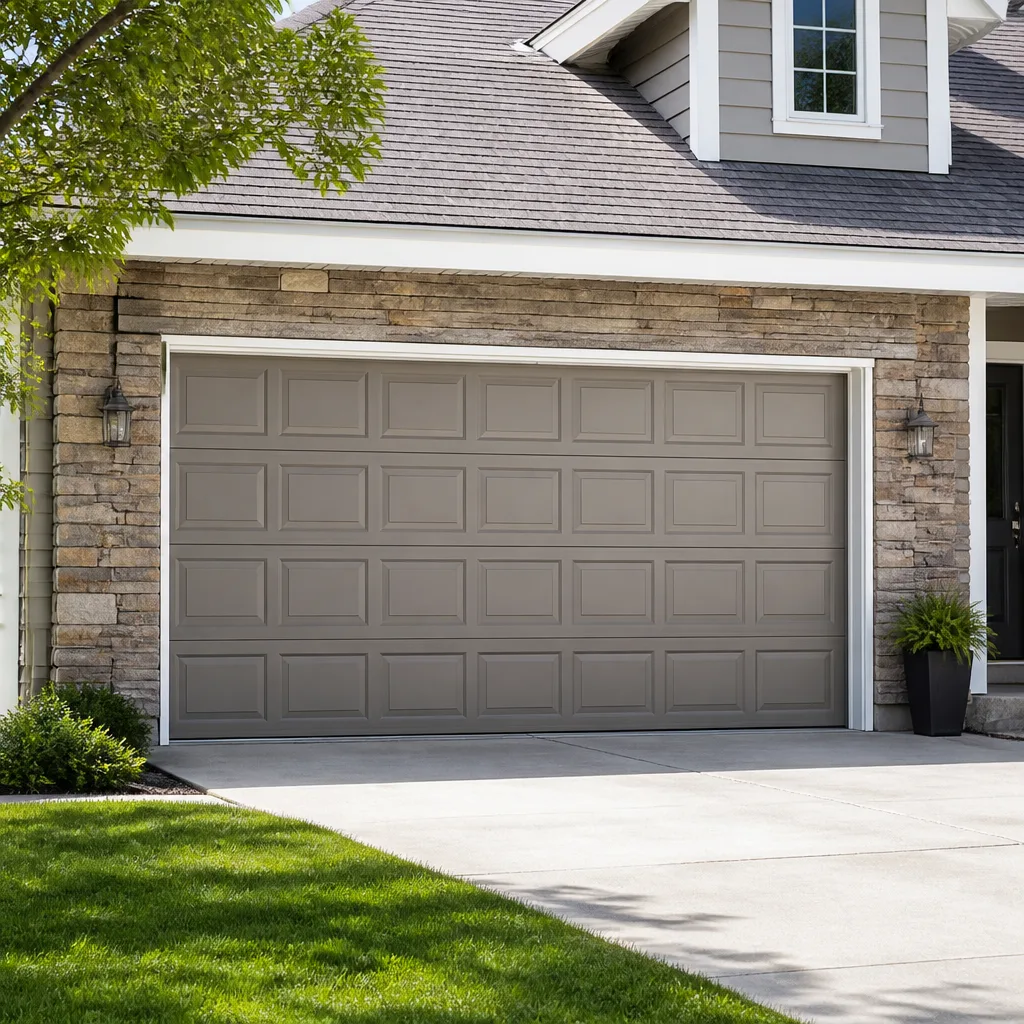 Raised-panel steel
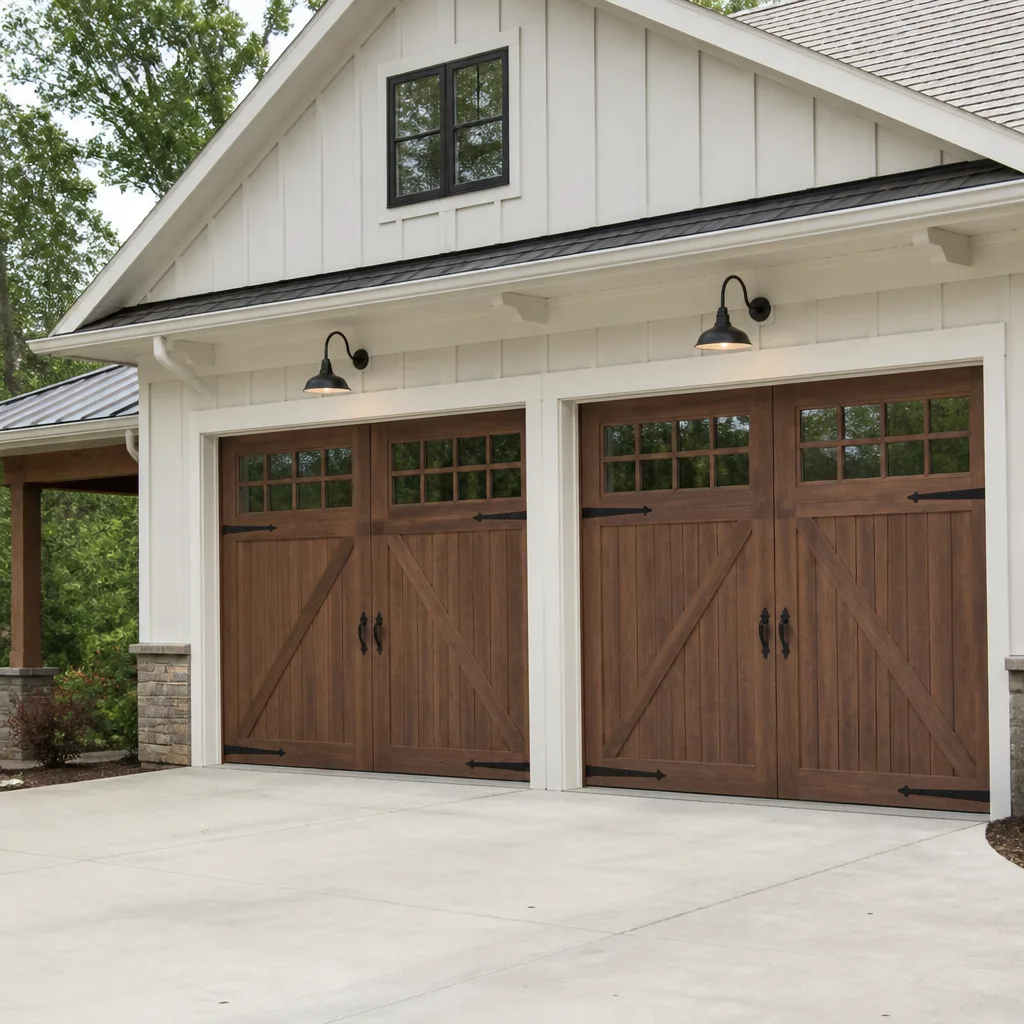 Carriage house
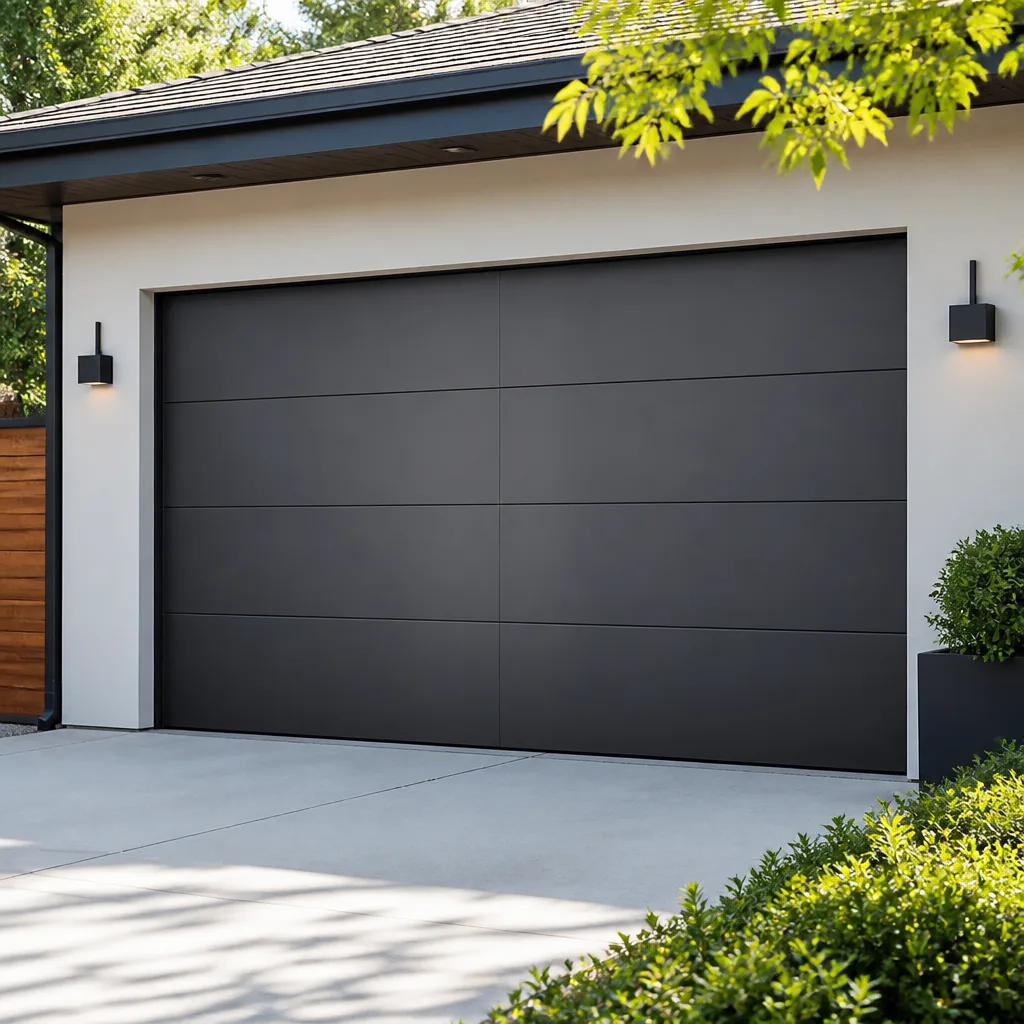 Modern flush
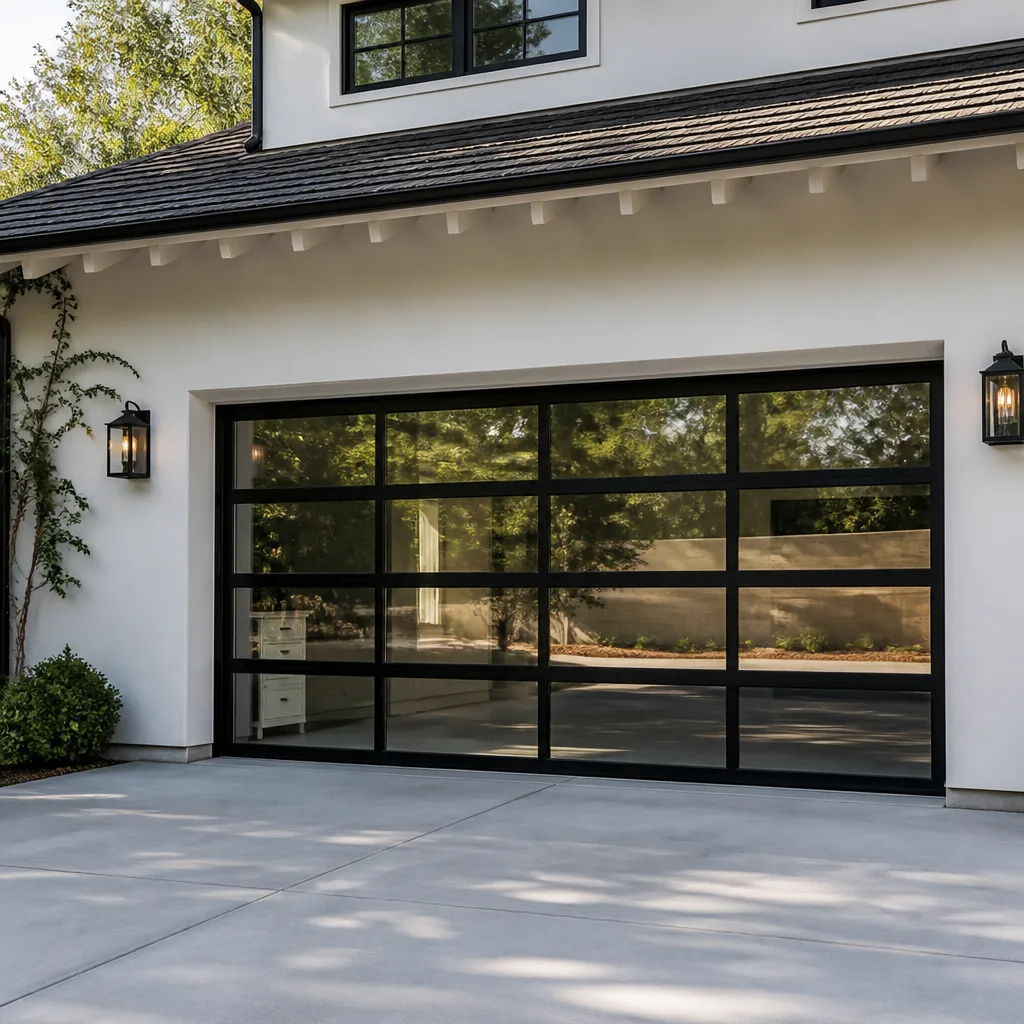 Full-view glass
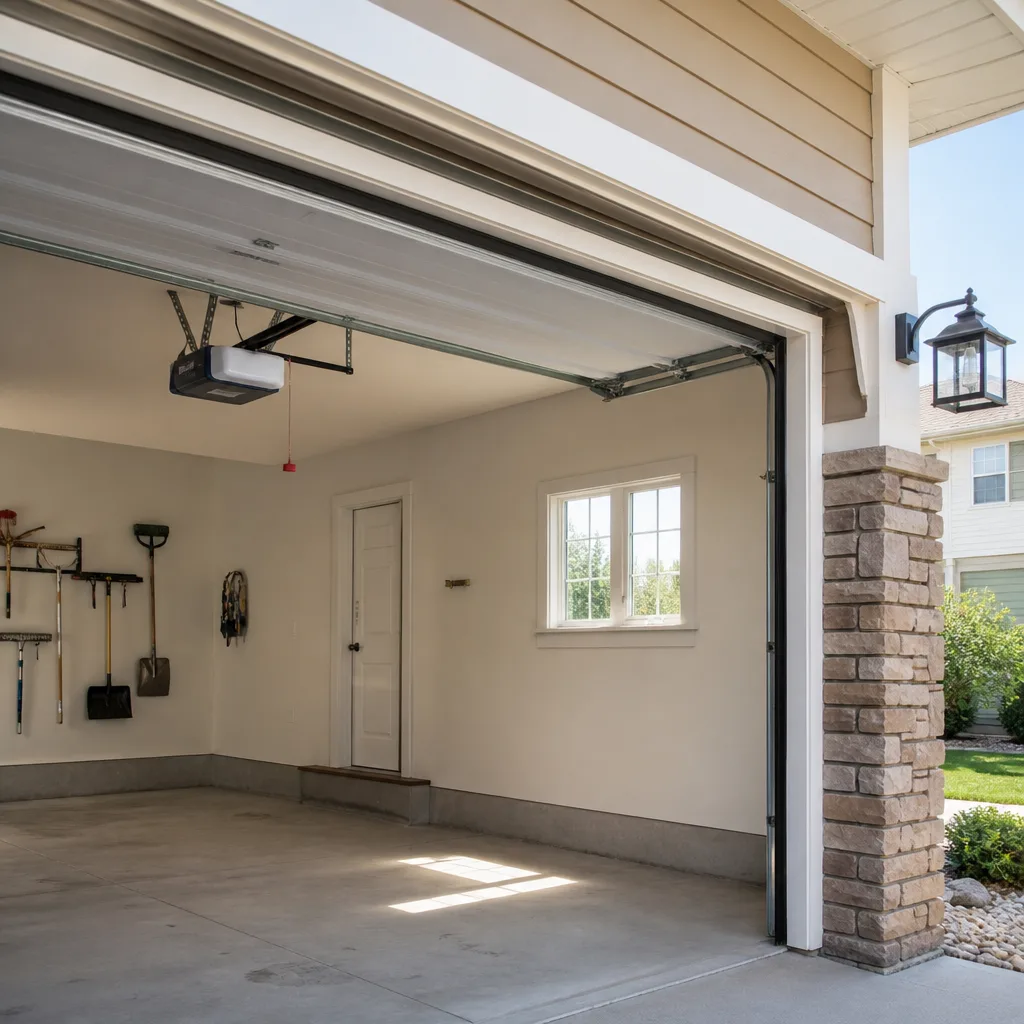 LiftMaster openers
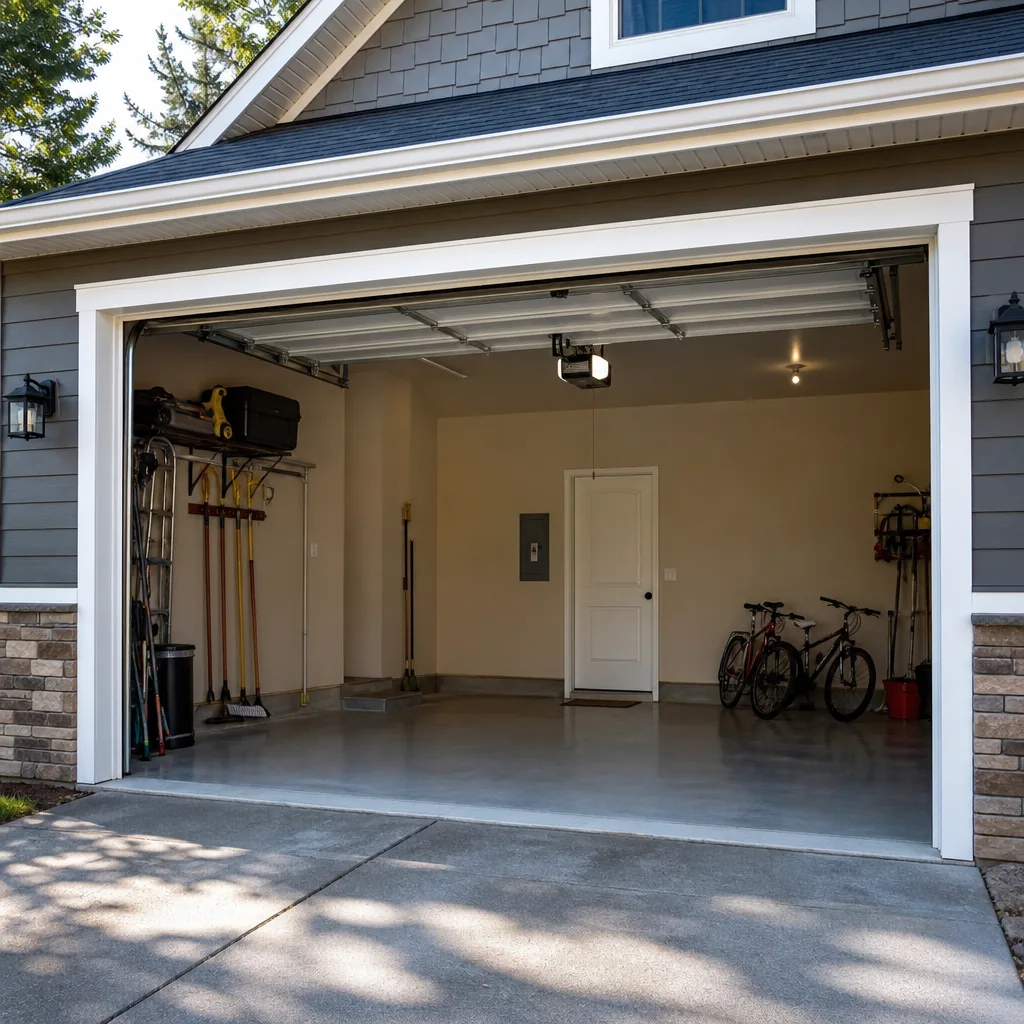 Chamberlain openers
Full 25-point door and opener safety check with every visit - springs, cables, rollers, tracks, and your LiftMaster or Chamberlain opener included
You get a price before we start. It does not change when the truck arrives.
Get your free estimateGarage Door Repair Maintenance Checklist for Oxnard Homeowners
Most Oxnard homeowners maintain their garage door in the wrong sequence. They lubricate first, inspect second, and wonder why the grinding noise comes back in three weeks. The order matters because coastal air deposits salt and grit into your tracks, hinges, and springs continuously. If you lubricate over that contamination, you’re trapping abrasive particles against moving metal. That accelerates wear instead of preventing it. This guide gives you a sequenced maintenance system built around what Oxnard’s marine layer actually does to door hardware, with pass/fail criteria so you know when “it looks fine” isn’t fine.
Quick Answer
A garage door maintenance checklist for Oxnard homeowners should follow this sequence: inspect tracks, springs, cables, rollers, and seals for salt corrosion and UV damage first; clean the tracks and hardware second; lubricate the rollers, hinges, springs, and opener rail third; and test balance, reversal, and photo-eye function last. Run through the full sequence every three months, with a lighter monthly check on the high-stress parts. Oxnard’s coastal air means hinges and springs rust faster here than they do 10 miles inland, so quarterly inspection isn’t optional. Here are the five links you’ll want: Garage Door Repair Oxnard home covers all of it in one place.
Styles & brands we work with
- Raised-panel steel
- Carriage house
- Modern flush
- Full-view glass
- LiftMaster openers
- Chamberlain openers
Table of Contents
- Why the Sequence Matters More Than the Checklist
- The 10-Minute Monthly Checklist
- The Quarterly Deep Check: What to Inspect First
- Cleaning for Coastal Conditions: Salt, Grit, and UV
- What to Lubricate, What to Skip, and What Product to Use
- Testing: Balance, Reversal, and Photo-Eye Pass/Fail Criteria
- Brand-Specific Notes: Clopay, Amarr, Wayne Dalton, and Craftsman
- Common Mistakes to Avoid
- When to Call a Professional
- Frequently Asked Questions
Why the Sequence Matters More Than the Checklist
Every garage door maintenance list you’ll find online contains roughly the same eight or nine tasks. Inspect the tracks. Check the springs. Lubricate the rollers. Test the balance. The problem is that most of them present these as a menu, not an ordered procedure. In our experience servicing doors throughout Oxnard and Ventura County, the order is what separates a maintenance session that takes 30 minutes and actually prevents a breakdown from one that takes 90 minutes and creates new problems.
Here’s the logic. Inspection comes first because you can’t clean or lubricate intelligently if you don’t know what you’re dealing with. If a roller is already cracked, lubricating it is wasted effort and it needs replacement anyway. If a track has a salt-crust buildup near the bottom section, you need to clean that section before anything else, because lubricant applied over salt turns into a grinding paste.
Cleaning comes second because lubricant bonds best to clean metal. Any garage door technician who works near the coast will tell you the same thing: Oxnard’s marine layer deposits a fine layer of salt and moisture on exposed hardware almost daily from late spring through early fall. That layer is barely visible, but it’s there. It accelerates rust on zinc-plated hardware and creates friction points inside the track channels.
Lubrication comes third, and only after the surfaces are clean and dry. This is also where most homeowners go wrong with product choice, which we’ll get into below. The short version: spraying WD-40 on everything is not lubrication. It’s a solvent that strips the existing lubricant off and leaves the metal more vulnerable than before.
Testing comes last because you need the door operating under real load to verify that everything you just cleaned and lubricated is working properly. The balance test, the auto-reverse test, and the photo-eye test are all functional checks that tell you whether the system is safe or whether something is out of tolerance. If you test first, you’ll get false failure readings caused by dirty or dry components, not actual mechanical problems.
The 10-Minute Monthly Checklist
This is the ongoing maintenance rhythm. It doesn’t reset your maintenance clock the way the quarterly deep check does, but it catches problems early, when they’re cheap to fix. Set a recurring reminder for the first Saturday of every month and have a flashlight, a clean rag, and a can of the right lubricant ready.
- Listen during one full open-close cycle. Stand inside the garage and pay attention to any change in sound. A healthy door is relatively quiet: a low hum from the opener, a soft rattle from the rollers in the track. Grinding, squealing, popping, or a rhythmic thumping that wasn’t there last month is the early warning. It means something is dry, loose, or starting to fail.
- Watch the door path from the side. The door should move smoothly, without hesitating, jerking, or tilting to one side. If one side lags even slightly, that’s a balance or cable tension issue starting.
- Check the bottom seal. Run your hand along the rubber weatherstripping at the bottom of the door. In Oxnard, UV degradation from the Southern California sun is as big a problem as salt. The rubber should be flexible, not cracked or brittle. If it leaves black marks on your hand, it’s oxidizing and needs replacement.
- Glance at the cables. Look at the lift cables on both sides. They should be taut, straight, and free of fraying. Do not touch them. A cable that’s beginning to fray is a sign of spring tension problems, and cables under tension can cause serious injury if they snap while you’re inspecting them.
- Test the auto-reverse once. Place a roll of paper towels flat on the floor where the door closes. Close the door. It should reverse within two seconds of contact. If it doesn’t, stop using the door and call us for garage door repair in Oxnard immediately. This is a safety feature, not a convenience.
- Operate the opener once manually. Pull the red emergency release handle and open and close the door by hand once. It should move easily, with light resistance. If it’s heavy, the springs are losing tension or the rollers are binding. Re-engage the opener by pulling the release cord toward the door and running the opener until it reconnects.
These six steps take about ten minutes and catch the majority of developing problems before they become breakdowns. If every monthly check comes back clean, that’s a good sign, but the quarterly deep check is where you actually get under the surface.
The Quarterly Deep Check: What to Inspect First
The quarterly check is where you reset the maintenance clock. You’ll inspect, clean, lubricate, and test in sequence. This takes 45 to 60 minutes the first time and 30 to 45 minutes once you have a rhythm. Before you start, gather everything you’ll need: a sturdy step ladder, a flashlight, a clean microfiber rag, a soft-bristle brush, white lithium grease or a garage-door-specific lubricant, and a spray silicone for the opener rail depending on your brand.
Inspection Order and Pass/Fail Criteria
Inspect in this order, top to bottom. For each component, use the pass/fail criteria. “It looks fine” is not a pass. Here’s what “fine” actually requires.
Springs (torsion above the door or extension along the sides):
- PASS: Uniform color without rust blooms or white salt crust; no gaps visible in the coils of a torsion spring when the door is closed; no stretch marks on extension springs.
- FAIL: Any visible rust spot larger than a dime, especially at the spring ends where the metal bears the most load. Powdered rust falling from the spring. Any gap in the torsion spring coil. A snapped spring is an automatic fail and a professional garage door repair in Oxnard call.
Cables:
- PASS: Clean, continuous strands with no burrs, kinks, or missing wire wraps. Taut on both sides when the door is open or closed.
- FAIL: Any broken strand, no matter how small. Any rust staining along the cable. Slack on one side when the door is closed. Do not attempt to tighten a cable yourself. Cable tension is stored in the spring system, and any mistake there can cause serious injury.
Rollers:
- PASS: Rolls smoothly in the track when the door moves; no flat spots on the wheel; the bearing at the center has no visible wobble.
- FAIL: Any crack or chip in the wheel material. A wheel that slides instead of rolling. Nylon rollers that have turned yellow or brittle from age. A roller that’s kicked off in the track is an immediate professional fix.
Track alignment:
- PASS: The vertical and horizontal tracks are parallel to each other on both sides, with consistent spacing between the track and the door edge. No gaps at the joints between track sections. Bolts are present and tight.
- FAIL: Any visible bend, dent, or kink. Track sections that have shifted so the joint between them catches the roller. A track that’s pulled away from the wall by more than perhaps an eighth of an inch.
Hinges and brackets:
- PASS: Straight, tight against the door face, no visible movement when you press on them.
- FAIL: Any hinge that’s cracked at the fold line, any bracket with more than slight surface rust, any loose bolt or screw. In Oxnard, the lower hinges on ocean-adjacent properties tend to fail first because they sit closest to the salt-laden air that pools near the ground.
Bottom seal and weather stripping:
- PASS: Flexible rubber that sits tight against the garage floor across the entire width, with no visible light gaps.
- FAIL: Cracks, brittleness, or a seal that has shrunk and left gaps at the corners. Compressed areas that no longer contact the floor. Oxnard’s combination of intense UV and morning marine layer moisture accelerates seal breakdown here faster than in most of California.
Cleaning for Coastal Conditions: Salt, Grit, and UV
Oxnard sits directly on the Pacific, and that’s the single biggest environmental factor affecting your garage door hardware. The prevailing onshore breeze carries fine salt mist inland, especially during the May through September months when the marine layer forms overnight and burns off mid-morning. That salt settles on exposed metal, mixes with condensation, and creates an electrolytic environment that rusts standard zinc-plated hardware faster than inland locations like Moorpark or Thousand Oaks.
What to Clean and How
- Track channels. Use a dry microfiber cloth or a soft-bristle brush to sweep out dust, sand, and salt residue from inside the track channels. Pay special attention to the bottom curve of the vertical tracks, where debris collects. Don’t use water unless you see caked-on grime that dry removal can’t lift. If you do use a damp cloth, dry the track thoroughly before lubricating.
- Spring surfaces. Wipe the torsion spring with a clean, dry rag to remove salt film. Don’t apply any cleaning solution to the spring. Lubricating over salt residue shortens spring life significantly, and replacing a Clopay or Wayne Dalton torsion assembly is several hundred dollars more than a tube of lubricant.
- Roller wheels. Wipe the wheel surface clean with a dry rag. Salt and grit embedded in the wheel surface grind against the track and create flat spots over time.
- Bottom seal. Wipe with a damp cloth and a mild soap solution if needed. Rinse and allow to dry. Apply a UV-protectant rubber conditioner twice a year. This is one of the few products that genuinely extends the life of the seal in Oxnard’s sun exposure.
- Opener rail where it applies: clean the rail channel on Chamberlain, LiftMaster, and Genie screw or chain drive units with a dry cloth before applying fresh lubricant.
Salt corrosion on hinges and springs is not just a cosmetic issue. It causes pitting, and pitting creates stress concentrators that can cause a spring to snap under load. Inspecting for early-stage rust and cleaning it off is the highest-value maintenance task you can do as an Oxnard homeowner, because it directly prevents the most common catastrophic door failure we see.
What to Lubricate, What to Skip, and What Product to Use
Lubrication is the step most people get wrong, both in terms of what to apply and where to apply it. Here’s the direct answer: use a silicone-based or lithium-based garage door lubricant spray on the rollers, hinges, springs, and the top of the track where the roller travels. Do not use WD-40, penetrating oil, or general-purpose household oil. These strip away the existing lubricant film and evaporate quickly, leaving metal surfaces drier than before.
Where to Lubricate (and Where Not To)
- Rollers (nylon or steel): Apply a short spray to the bearing at the center of the wheel. If the roller has exposed steel bearing surfaces, lubricate those. Do not lubricate the wheel tread itself, which grips the track.
- Hinges: Apply lubricant to the pivot points on each hinge where the sections connect. A short spritz per pivot is plenty.
- Torsion springs: Spray along the length of the spring. It will coat the coils evenly. Work the door up and down once or twice afterward to distribute.
- Track channels: A light spray along the interior surface where the roller travels is fine. Do not grease the track channel heavily. Excess attracts dirt.
- Opener rail: For chain-drive openers, apply a small amount of white lithium grease to the chain. For screw-drive openers (common on older Genie units), use a silicone lubricant specifically labeled for screw-drive openers. For belt-drive openers from LiftMaster or Chamberlain, the belt itself needs no lubrication. Lubricate only the rail contact points if the manufacturer’s guide specifies it.
Product-Specific Guidance for Major Opener Brands
- Chamberlain and LiftMaster belt-drive openers: Use a lithium-based spray on the belt tensioner and any exposed metal rail areas. Do not apply anything to the rubber belt itself; it’s a closed-loop synthetic belt that’s designed to run dry. Applying oil actually causes the belt to slip.
- Genie screw-drive openers: These require a specific screw-drive lubricant, usually a lithium grease or the Genie-branded product. Applying the wrong lubricant, especially anything silicone-based, breaks down the existing grease and causes the screw to bind.
- Wayne Dalton and Craftsman chain-drive openers: White lithium grease on the chain works well. Spray the chain in short bursts while the opener runs through a cycle, taking care to keep your hands clear of the chain and sprocket.
Lubricate every three months as part of the quarterly deep check. If you hear a door that sounds dry between quarterly appointments, do a focused lubrication touch-up, but check for contamination first, which is the sequence we covered earlier. For opener issues that lubrication doesn’t solve, our garage door opener repair in Oxnard service covers brand-specific diagnostics for every major manufacturer.
Testing: Balance, Reversal, and Photo-Eye Pass/Fail Criteria
Testing comes last in sequence because the door needs to operate under real load to reveal functional problems. These tests are non-negotiable. Every one of them checks a safety system, and a door that fails any of these tests is not safe to use.
Balance Test
Pull the emergency release handle to disconnect the opener. Manually raise the door to the halfway position and let go. PASS: The door stays in place or drifts only an inch or two in either direction. FAIL: The door drops rapidly to the floor or shoots upward. A door that falls is under-sprung; a door that rises is over-sprung. Both conditions force the opener motor to work harder than it’s designed to and shorten its life. Balance problems are spring system issues and require professional adjustment. The torsion springs on doors from Clopay, Amarr, and Wayne Dalton store enough energy to cause serious injury if mishandled.
Auto-Reverse Test
Place a 2×4 block or a roll of paper towels flat on the floor in the center of the door opening. Close the door using the opener. PASS: The door contacts the object and reverses direction within two seconds, returning to the open position. FAIL: The door continues closing on the object. Federal safety standards have required this feature on all openers manufactured since 1993. If it fails, disconnect the opener and use the door manually until it’s repaired.
Photo-Eye (Safety Sensor) Test
With the door open, press the close button. While the door is closing, wave your foot across the photo-eye beam about six inches off the ground on either side. PASS: The door stops and reverses immediately. FAIL: The door continues closing. This test should be done every month as part of the quick checklist. Misaligned sensors are sometimes a simple fix, but sensors that pass intermittently, or that work only when the sun isn’t hitting them directly, indicate a failing sensor unit. This is especially common in Oxnard on west-facing garages, where late-afternoon sun angles can blind the sensor during certain months.
Brand-Specific Notes: Clopay, Amarr, Wayne Dalton, and Craftsman
We see four brands most often in Oxnard garages: Clopay, Amarr, Wayne Dalton, and Craftsman. Each has specific characteristics that affect maintenance.
Clopay doors are widely installed in newer Oxnard developments, including the RiverPark and Collection communities. Clopay’s torsion spring systems tend to be sized conservatively, which means they run balanced longer but fail without warning when they do fail. The steel panels on entry-level Clopay models are also more susceptible to bottom-edge rust from salt exposure. Pay extra attention to the bottom panel seam during your quarterly check.
Amarr doors often feature a rust-resistant coating on the panel hardware, but the tuning and springs are standard. If you have an Amarr with nylon rollers installed from the factory, those rollers typically last five to seven years in coastal air before the bearing wears. Listen for a dry, squeaky roller sound, which on an Amarr often means the bearing is gone and the wheel itself is about to fail.
Wayne Dalton doors in the TorqueMaster configuration have springs enclosed inside a tube above the door. This design protects the springs from salt and moisture better than exposed torsion systems, which is a real advantage in Oxnard. The tradeoff is that TorqueMaster springs are harder to inspect. If your Wayne Dalton door has a solid tube across the top with a gear housing on one end, you have a TorqueMaster system. The maintenance cue is a door that suddenly becomes heavy to lift, which usually means the internal springs have lost tension.
Craftsman openers are among the most common we see in older Oxnard homes, especially in the La Colonia and Southwinds neighborhoods. Craftsman’s chain-drive units from the 1990s and 2000s are durable, but their logic boards and gears fail predictably after 15 to 20 years. Maintenance-wise, keep the chain lubricated and the gear housing clean. If the opener starts making a grinding noise and jerks the door, the main drive gear has likely stripped. It’s a repairable part, but on units that old, replacement is often the better value.
Regardless of the brand you have, the maintenance sequence remains the same. The rubber compounds, the spring metallurgy, and the opener mechanics vary slightly from brand to brand, but the coastal environment here treats them all roughly equally. If you’re unsure what you have, check the manufacturer label on the door edge or the opener housing. And if you need garage door installation in Oxnard, the team will help you match your existing setup or choose a better one for coastal conditions.
Common Mistakes to Avoid
- Lubricating before cleaning. This is the Oxnard-specific knee-capper. Salt-laden air deposits a fine film on your hardware. Lubricating over it traps abrasive particles and shortens the life of every moving part. Clean first, always.
- Using WD-40 on any part of the door. WD-40 is a water displacer and solvent, not a lubricant. It strips existing lubricant film, then evaporates. Your door ends up drier than when you started, and dry metal grinds.
- Over-lubricating the track channel. A heavily greased track attracts every grain of sand and salt in the air. It turns into sludge within weeks. A light silicone spray is all the track needs.
- Skipping the balance test because the door “opens fine.” The opener masks a failing spring for months. You won’t notice the problem until the opener burns out or the spring snaps. The balance test takes 60 seconds and reveals spring health directly.
- Ignoring the bottom seal. Oxnard’s UV exposure destroys rubber seals faster than anywhere inland. A cracked seal lets salt air, sand, water, and pests into the garage. Replacing a bottom seal costs a fraction of the damage it prevents.
- Tightening or adjusting cables yourself. The lift cables carry spring tension. A mistake while adjusting a cable can tear a hand off. Some things are maintenance; cable adjustment is not one of them.
When to Call a Professional
Any sign of a broken spring, a frayed cable, a door that’s off its track, or a damaged panel is a professional call. These are not weekend projects. Springs and cables under tension can cause serious injury, and improvising a repair makes the next real repair more expensive because we have to undo what was done first. If your auto-reverse test fails, stop using the opener and call. If the door is stuck in the open position and you can’t safely move it, leave it. If you’re unsure whether a component passes inspection, get a second opinion before it becomes a roadside emergency. Garage Door Repair Oxnard covers the full door system, including the opener and motor unit, so you aren’t coordinating between multiple contractors. Call (833) 706-7472 for a free estimate in Oxnard.
Frequently Asked Questions
Run the 10-minute monthly checklist every month and the full quarterly deep check every three months. Oxnard’s salt air and UV exposure mean hardware degrades faster here than in inland Ventura County, so quarterly inspection is the minimum, not a suggestion. Call (833) 706-7472 if a check turns up anything suspicious.
For LiftMaster and Chamberlain belt-drive openers, use a lithium-based spray on the metal rail and nothing on the belt itself. For Genie screw-drive openers, use a silicone or lithium lubricant specifically labeled for screw-drive rails. The wrong product on a Genie screw will break down the existing grease and cause binding. If you’re not sure, call us at (833) 706-7472 and we’ll confirm what your specific model needs.
The marine layer deposits salt and moisture on exposed metal almost daily, especially from May through September, and the effect is cumulative. Rust accelerates once the original plating is compromised. The only effective countermeasure is regular cleaning of the salt film before it has time to pit the metal.
Maintenance visits in Oxnard typically run between $100 and $180 for a full inspection, cleaning, lubrication, and safety testing, depending on the door type and the number of components that need attention. The price is quoted and agreed before any work starts, so you will not get an invoice bigger than the quote. Call (833) 706-7472 for a free estimate.
Yes, bottom seal replacement is one of the few maintenance tasks that is genuinely DIY-friendly. The seal slides out of the retainer channel at the bottom of the door, and a new one slides in. The skill is in matching the right seal profile, since Amarr, Clopay, and Wayne Dalton each use different retainer shapes. Get the exact replacement for your brand instead of a universal seal that may not seat correctly.
A grinding opener is usually a stripped drive gear on chain-drive units or a binding screw on screw-drive models. Continued operation will chew through the remaining gear teeth and eventually strand the door in whatever position it fails in. Disconnect the opener, use the door manually, and call (833) 706-7472 for a free estimate on opener repair in Oxnard. The parts that are failing are inexpensive; the labor is the same whether you’re replacing a gear or rebuilding a fully stripped unit, so addressing it early often costs less.
The Bottom Line
Oxnard homeowners face real maintenance pressure from the Pacific: salt corrosion, UV-degraded rubber, and grit contamination that grinds down moving parts. A garage door maintenance checklist is only as good as the order you follow it in. Inspect first, clean second, lubricate third, test last. Run the monthly six-step check faithfully, do the quarterly deep check without skipping the balance or auto-reverse tests, and treat any doubt about springs, cables, or motor function as a stop-sign. A door in good condition is quiet, balanced, and safe. When it’s not, the right thing to do is call. Garage door opener repair in Oxnard, spring replacement, or full door service, one call covers it.
Written by the team at Garage Door Repair Oxnard, serving Oxnard since 2016.
See the difference
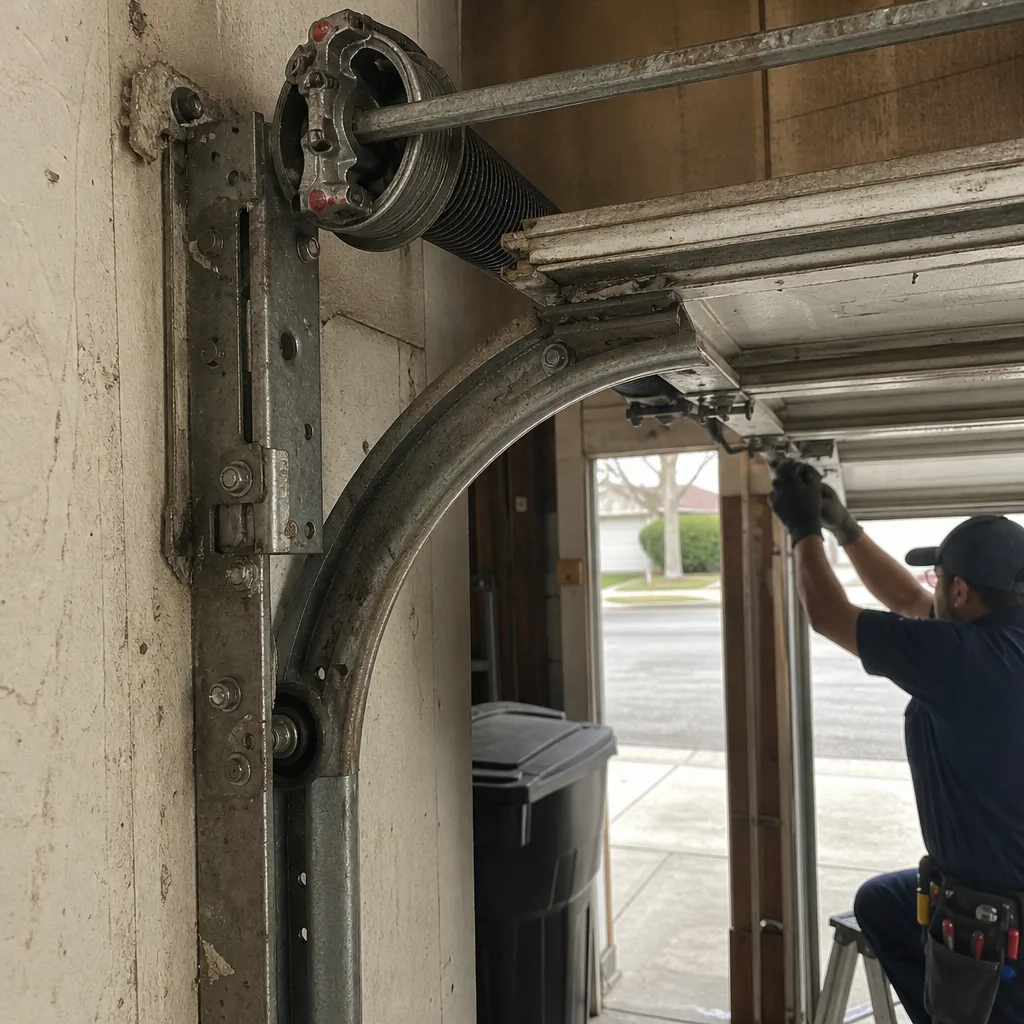 Before
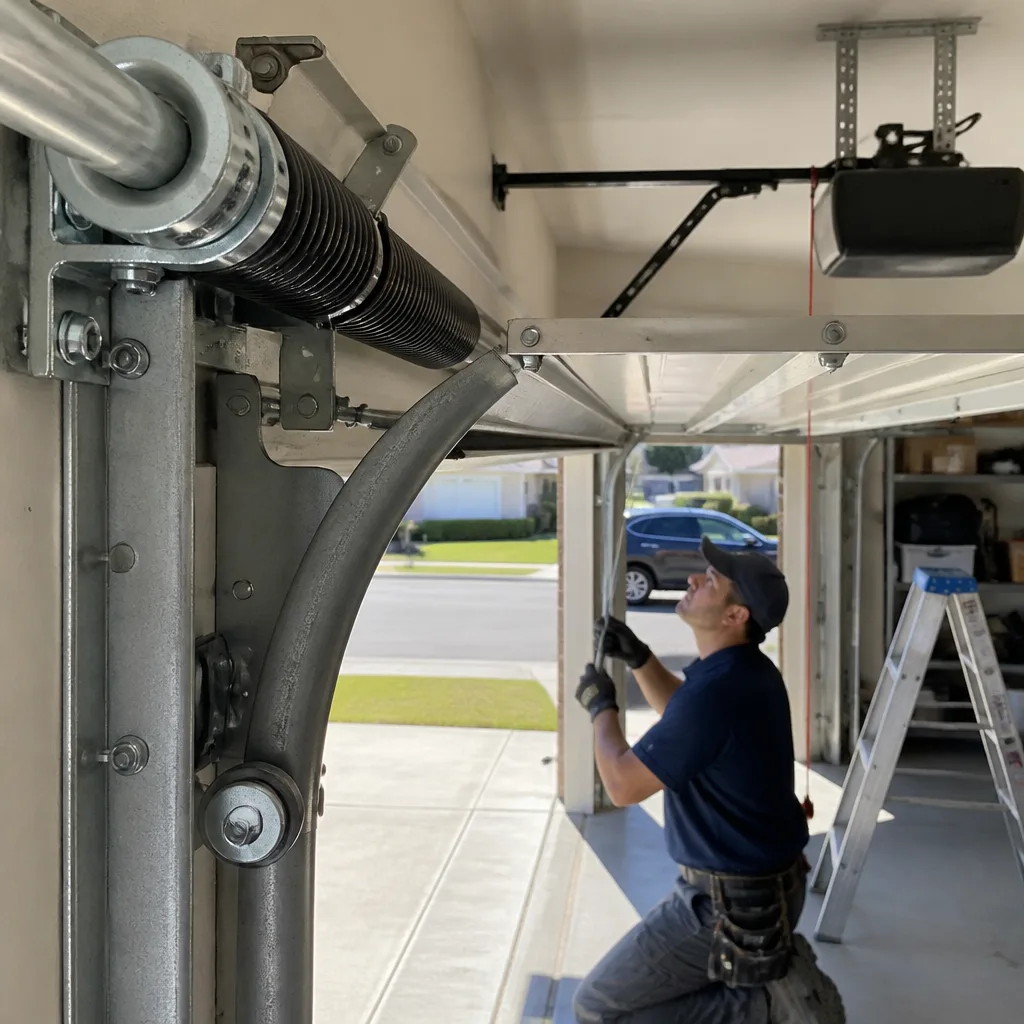 After
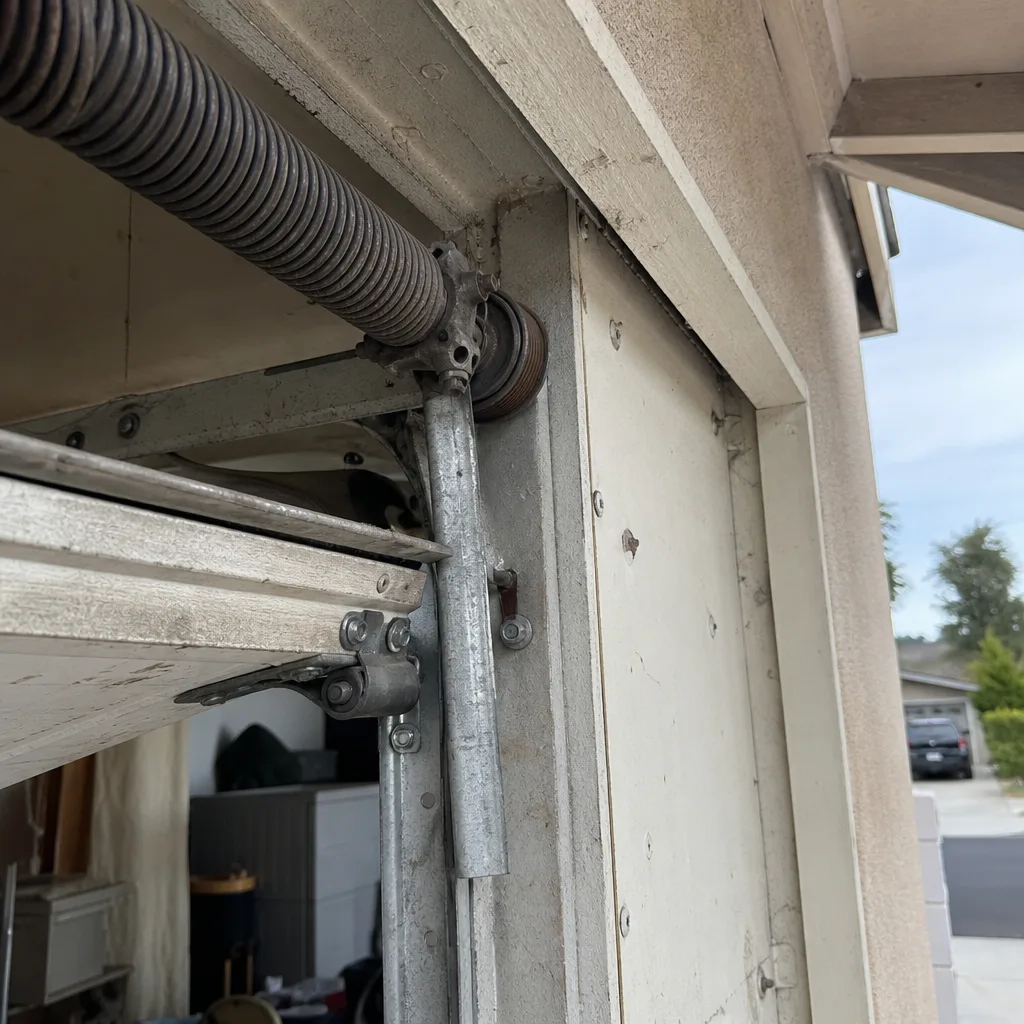 Before
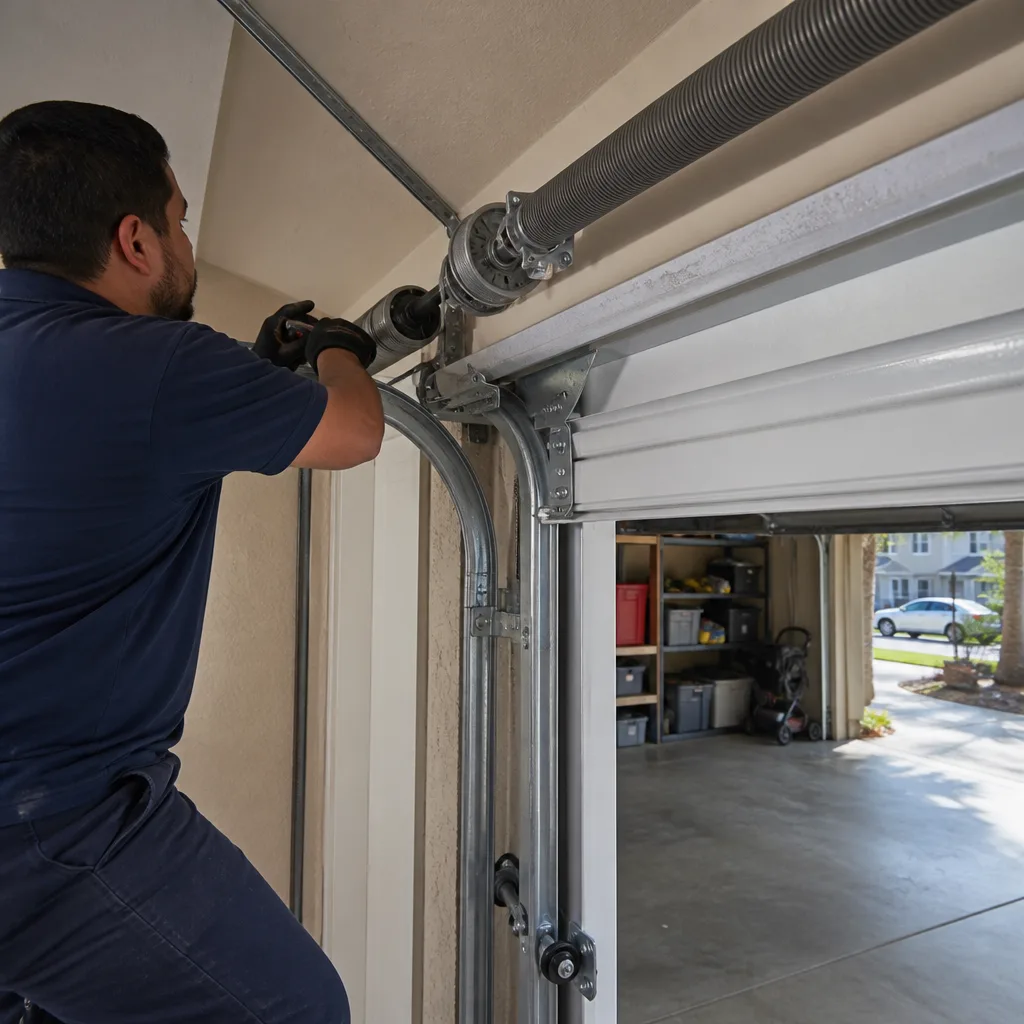 After
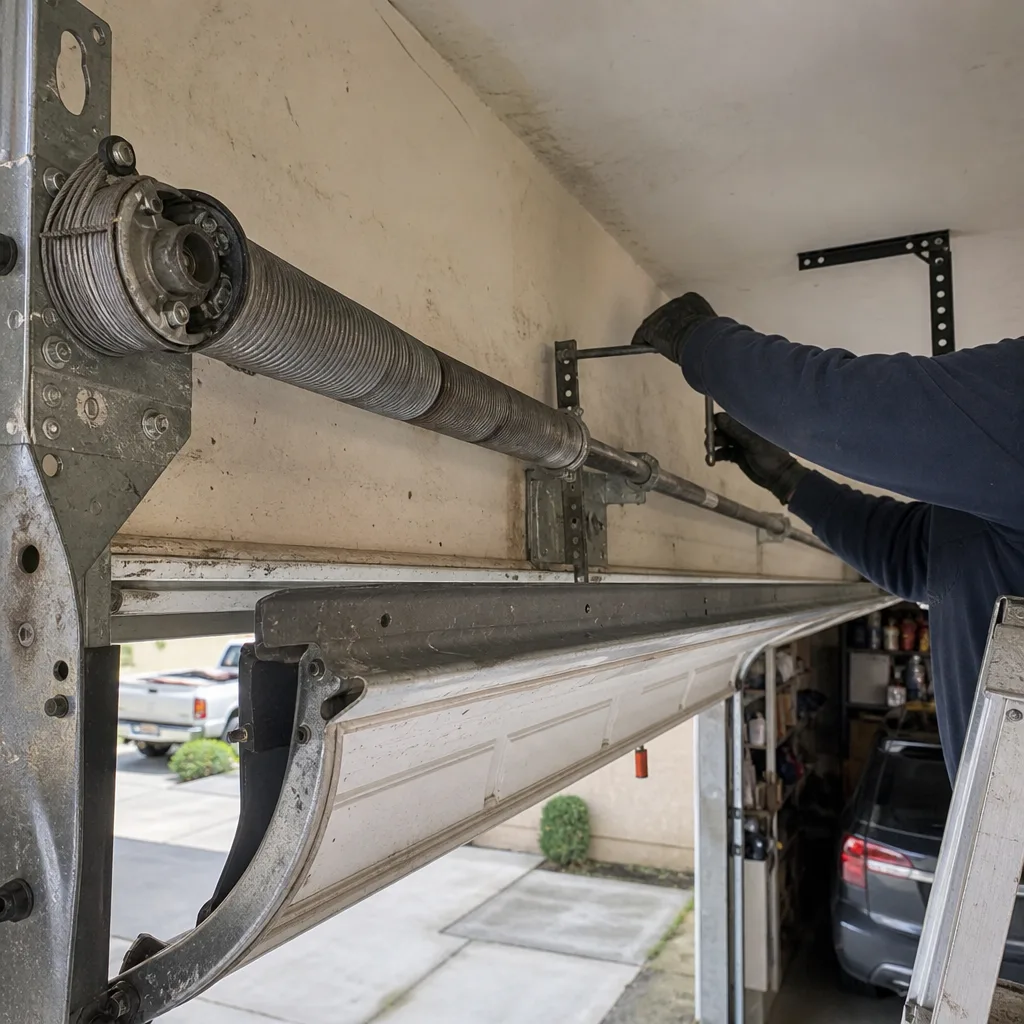 Before
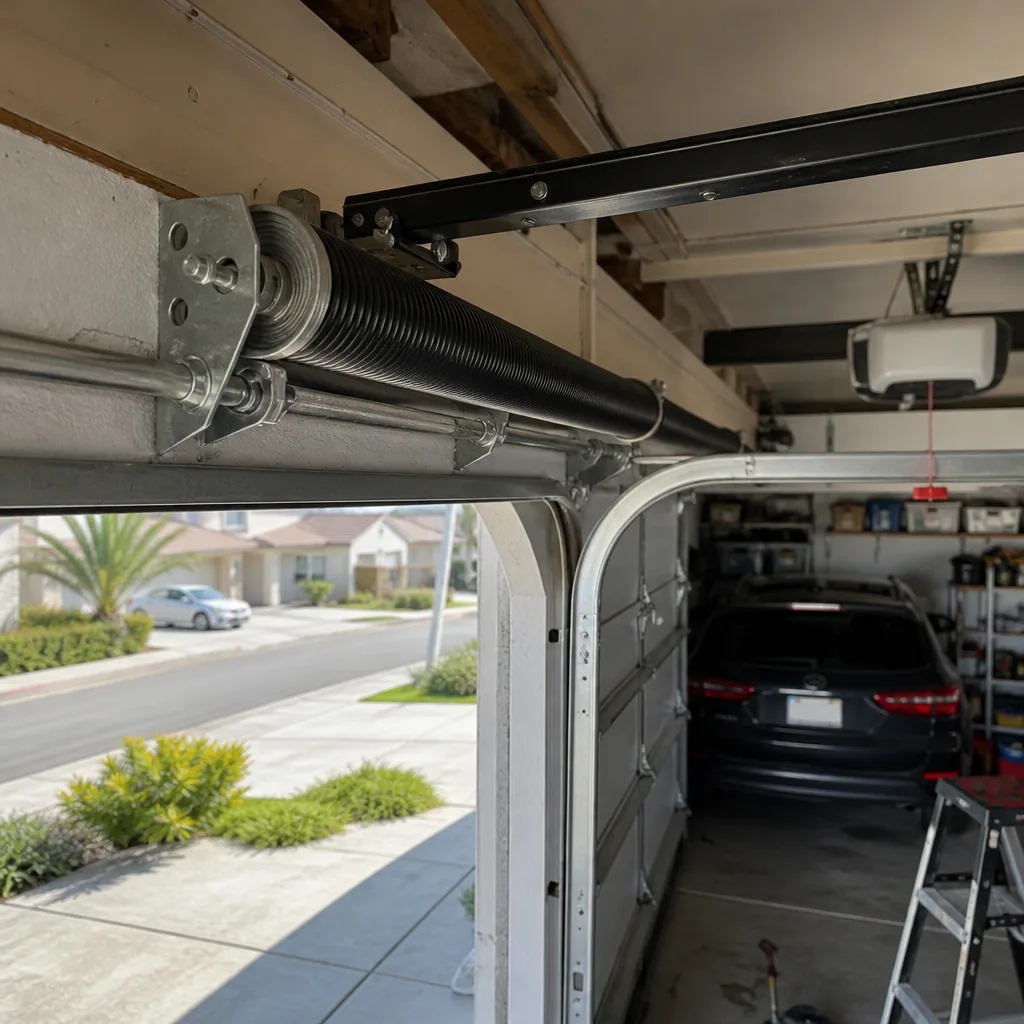 After