
Last updated November 2, 2026
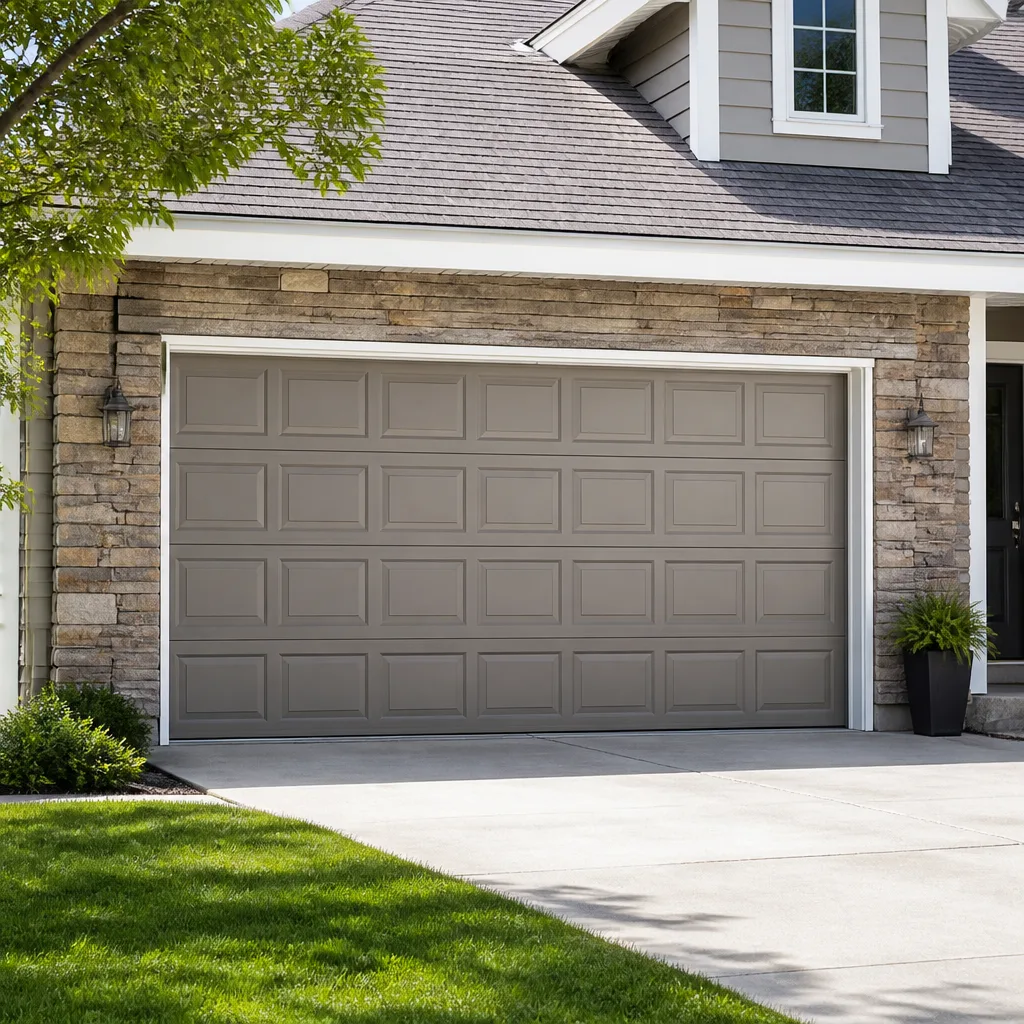 Raised-panel steel
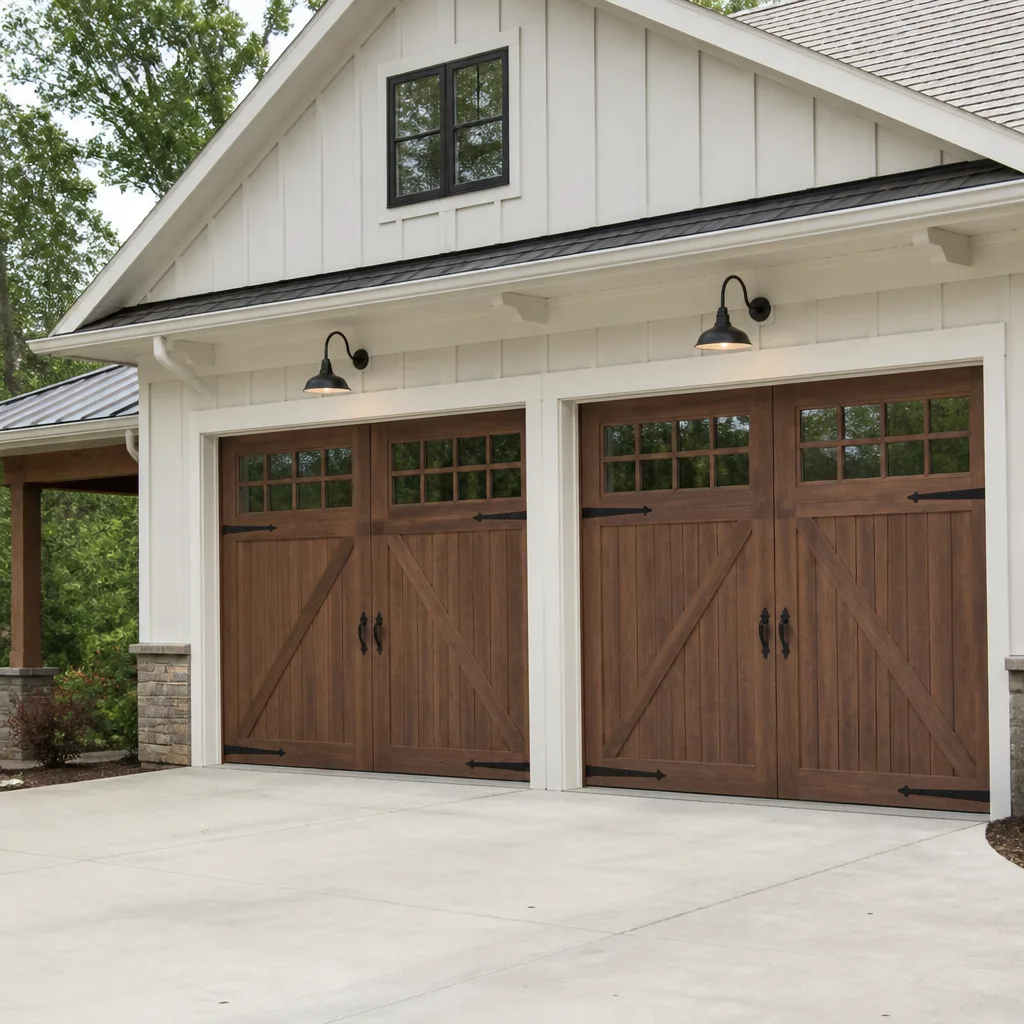 Carriage house
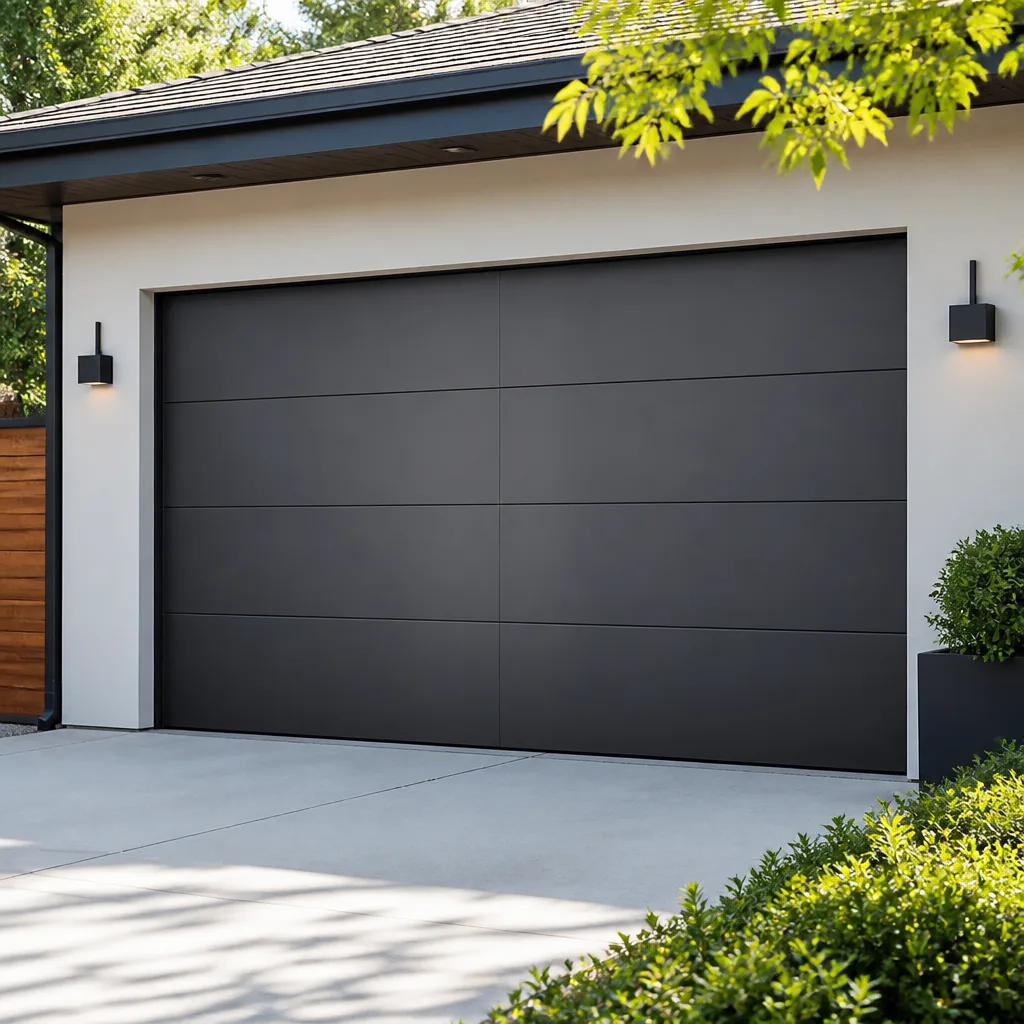 Modern flush
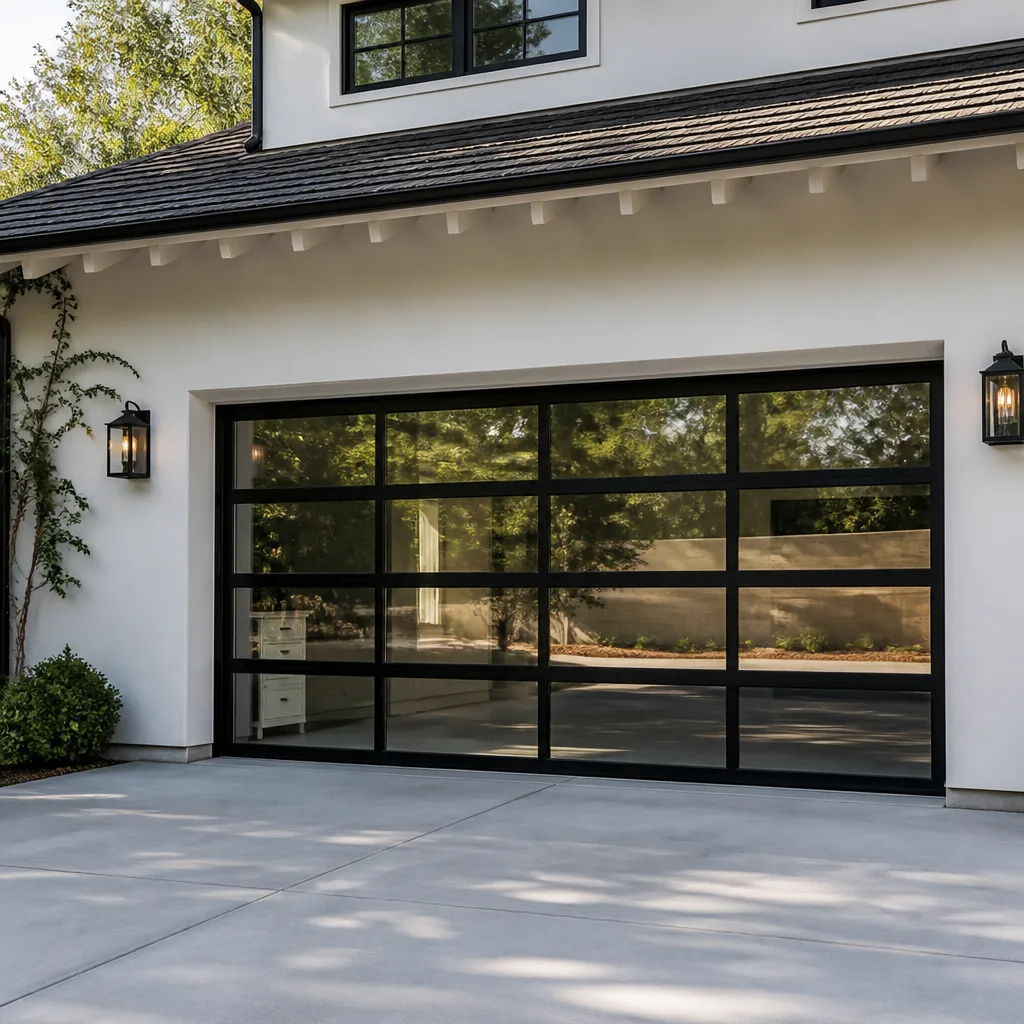 Full-view glass
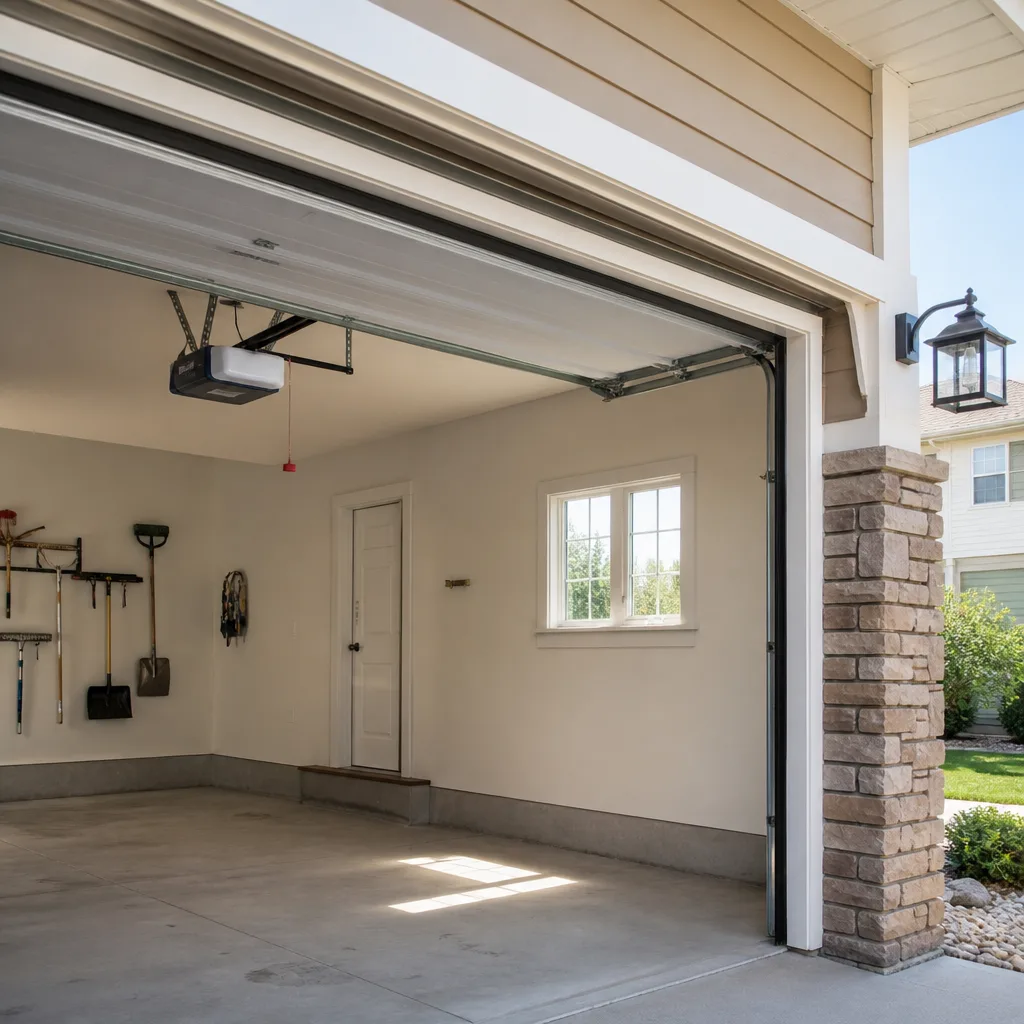 LiftMaster openers
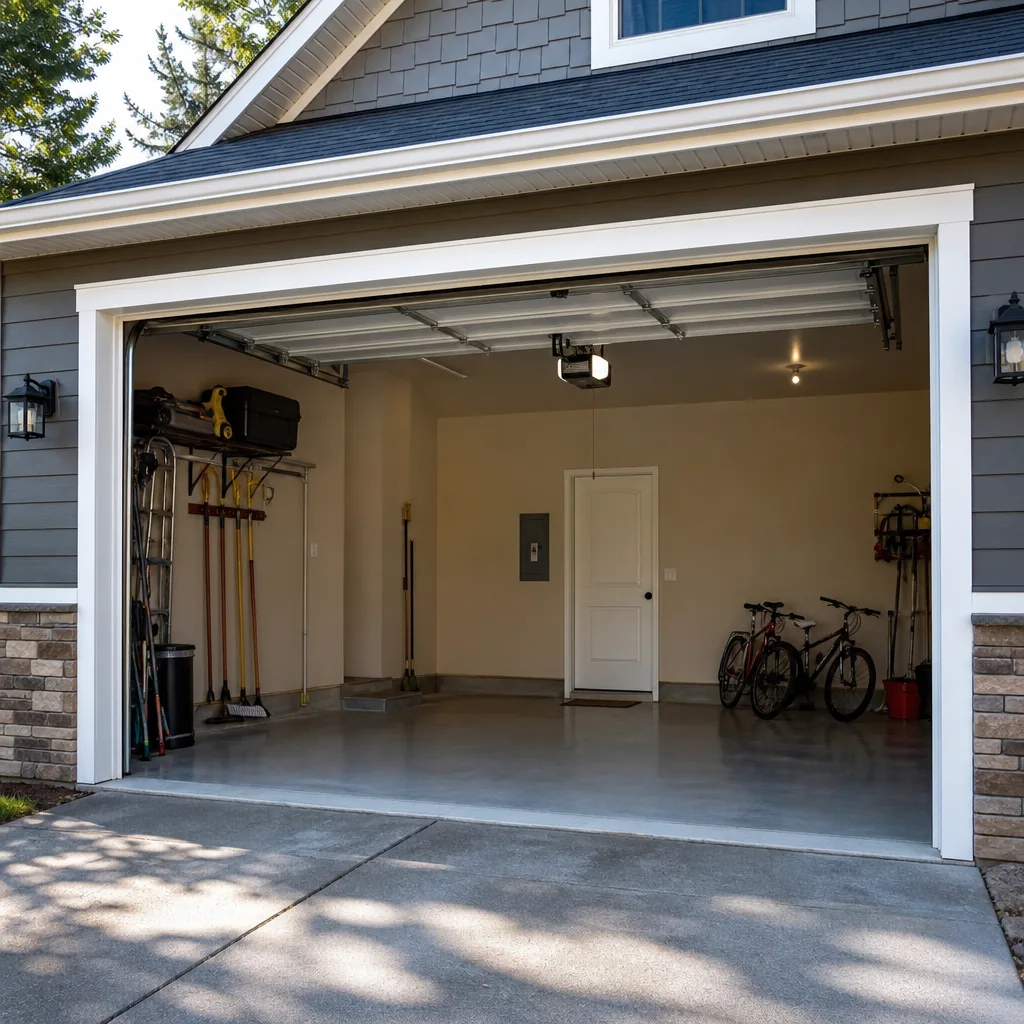 Chamberlain openers
Full 25-point door and opener safety check with every visit - springs, cables, rollers, tracks, and your LiftMaster or Chamberlain opener included
You get a price before we start. It does not change when the truck arrives.
Get your free estimateGarage Door Repair Troubleshooting: Common Problems and How to Fix Them
Spraying WD-40 on a noisy garage door is the single most common mistake we see homeowners make, and it almost always makes the problem worse. WD-40 is a solvent, not a lubricant. It strips the existing grease from your chain or screw drive, attracts dust and grit, and within weeks you’ve turned a simple roller replacement into a track alignment job that costs three times as much. This guide walks you through the exact diagnostic sequence our technicians use on our Garage Door Repair services calls across Oxnard, from the moment you notice something’s off to the point where you know whether you can fix it safely or need to pick up the phone.
Quick Answer
Garage door repair troubleshooting starts with one question: is the problem in the door mechanism or the opener? Pull the emergency release cord and lift the door by hand. If it moves smoothly and stays put, the door is fine and the opener is the culprit. If it’s heavy, binding, or won’t stay up, you have a mechanical issue with springs, rollers, or track alignment. From there, match your specific symptom to the sections below, and never attempt spring replacement yourself.
Styles & brands we work with
- Raised-panel steel
- Carriage house
- Modern flush
- Full-view glass
- LiftMaster openers
- Chamberlain openers
Table of Contents
- Symptom-First Diagnostic Flow: The 30-Second Test That Separates Door from Opener
- Door Won’t Move at All: Opener Logic vs. Mechanical Lock-Up
- Door Moves Partially Then Reverses or Stops
- Noisy Door: Roller Wear, Chain Slack, and the Lubrication Mistake
- Opens Fine But Won’t Close: Sensor and Limit Switch Logic
- Error Code Translation: LiftMaster, Chamberlain, Genie, and Craftsman Blinking Lights
- Spring Tension Indicators You Can Assess From the Ground (Without Touching Anything)
- When Remote Troubleshooting Actually Fixes It vs. When It Masks a Bigger Problem
Symptom-First Diagnostic Flow: The 30-Second Test That Separates Door from Opener
Before you touch anything, before you google anything, before you call anyone, do this one test. It takes thirty seconds and tells you which half of your system failed. Homeowners in Oxnard’s beach-adjacent neighborhoods call us describing “a broken garage door” that turns out to be a dead opener battery, and other homeowners call about “opener problems” when their torsion spring has snapped and the opener is simply refusing to lift a door that now weighs three hundred pounds dead. For Garage Door Warning Signs: An Oxnard Homeowner’s Reference Guide, see our dedicated resource.
The test works on every residential garage door, whether you have a LiftMaster jackshaft opener on a rolling steel door or a Craftsman chain-drive on a standard sectional. Here’s the sequence:
- Close the door fully if it’s not already down. If it won’t close, skip to the opens but won’t close section below.
- Pull the red emergency release cord hanging from your opener rail. You’ll hear a click as the trolley disengages from the chain or belt.
- Lift the door by hand using the handle or the bottom edge. Lift it about waist high and let go.
- Observe: Does it stay at waist height? Does it drift down? Does it feel heavy? Does it feel like you’re fighting something?
A properly balanced garage door should lift smoothly with one hand, stay where you leave it, and require only gentle effort to move through its full travel. If that’s what you feel, your springs are doing their job and the problem lives in the opener unit, the remote, the wall button, or the wiring. If the door is heavy, sticks, binds, or crashes down when you release it, you have a door mechanical problem and the opener was probably never the issue. Oxnard’s coastal air accelerates rust on older torsion springs, and we replace corroded springs that look like they belong on a boat more often than any other single repair.
Door Won’t Move at All: Opener Logic vs. Mechanical Lock-Up
When the door refuses to move at all, most people assume the opener motor died. In our experience across Oxnard service calls, the cause is split fairly evenly between three categories: opener logic problems, power and wiring issues, and mechanical lock-up on the door side. Running through them in order saves you from buying a new opener when all you needed was a new capacitor.
Opener logic problems are the most common on openers manufactured in the last ten years, especially LiftMaster and Chamberlain units with MyQ connectivity and Chamberlain’s Security+ 2.0 rolling code system. The logic board interprets sensor input, and when one input reads as a fault, the board refuses to activate the motor. Symptoms include the opener clicking but not running, lights flashing in a pattern, or dead silence from both the wall button and remotes. We translate those blinking light patterns in the error code section below, because each brand speaks a different language.
Power and wiring issues are simpler. Check that the outlet has power by plugging in a lamp or phone charger. Check that the opener is plugged in firmly – over years of vibration, the plug can work loose. Check your GFCI outlet if the opener is on a garage circuit with a tripped test button. And check the wall button wiring at both ends: a single loose low-voltage wire behind that plastic button will disable remote and wall operation equally.
Mechanical lock-up is the dangerous one to misdiagnose. A broken torsion spring doesn’t always snap loudly. Sometimes a spring cracks and loses tension gradually, and the opener motor strains against a door that’s slowly getting heavier until the motor’s thermal overload trips. If you hear the motor hum but the door doesn’t move, stop pressing the button. Pull the release cord and try the manual lift test from the previous section. If the door is heavy, you’ve found your answer: spring failure. Do not attempt to lift a door with a broken spring repeatedly, and do not try to repair springs yourself. A torsion spring under three hundred pounds of torque can cause serious injury. Call a professional.
Door Moves Partially Then Reverses or Stops
A door that starts moving and then reverses partway through its travel is usually telling you one of two things: the opener’s force sensitivity is set too low, or something in the track is creating physical resistance the opener interprets as an obstruction. Both are common in Oxnard garages, where years of salt air and temperature swings between coastal fog and inland heat cause metal tracks to expand, contract, and corrode at different rates.
The diagnostic sequence we use on service calls goes like this:
- Disengage the opener with the release cord and run the door by hand through its full travel. Feel for sticky spots, especially where the track curves from vertical to horizontal.
- Inspect the track alignment from the side. The gap between roller and track should be consistent. A track that’s pinched or spread even a quarter inch will grab rollers at that point.
- Check roller condition. Nylon rollers with cracked or missing bearings, or metal rollers that have gone flat on one side, cause exactly this symptom. Rollers cost a few dollars each; ten minutes of replacement beats fighting the door for another year.
- Look at the opener force settings. Every modern opener has up and down force adjustment. If the door recently got heavier (new paint, added insulation panels, or gradual spring fatigue), the force setting that worked for years is now too low, and the opener reverses because it thinks it hit something.
One detail most guides miss: if your door reverses only in cold weather, the issue is almost certainly lubrication. The grease in your screw drive or on your rollers thickens in cold temperatures, increasing resistance enough to trip the force sensor. Oxnard’s winter mornings don’t get freezing cold, but a garage that faces the ocean breeze can drop into the low 40s, which is cold enough to matter. A proper silicone-based garage door lubricant (not WD-40, not lithium grease) applied to rollers, hinges, and the screw or chain resolves this without any mechanical changes.
Noisy Door: Roller Wear, Chain Slack, and the Lubrication Mistake
Garage doors make noise as they age, but specific sounds point to specific problems. Learn the sounds and you’ll know what to fix before it becomes a repair bill. Here are the noises and what they mean, drawn from the call notes of hundreds of Oxnard garage door diagnoses:
- Grinding or squealing from the opener unit means the gear and sprocket assembly inside the motor housing is wearing out. This is a known weak point on chain-drive LiftMaster and Craftsman openers, and the sound gets worse over a period of weeks until the gear finally strips. Replacement takes about an hour for a trained technician and is far cheaper than a new opener.
- Squeaking or shrieking from the door itself points to dry hinges and rollers. The proper fix is a silicone-based lubricant on the hinges, roller bearings, and springs. Skip the WD-40; it evaporates and strips what little lubrication remains.
- Rattling or chattering happens when hardware loosens over years of daily operation. Hinge bolts, track brackets, and the bolts holding the horizontal track to the ceiling all rattle when loose. Tighten them with a socket wrench (never an impact driver on opener components).
- Thumping, clunking, or bumping as the door travels usually means a roller has gone flat or a roller bearing has seized and the wheel is now dragging instead of rolling. Look at your rollers from the side; a flat spot is obvious. Flat rollers also grind down the track over time, turning a roller swap into a track replacement if ignored.
- Chain clanking or slapping on a chain-drive opener means the chain tension has slackened. Every chain-drive opener has a tension adjuster on the rail, and loose chain slaps against the rail on each pass, eventually stretching and wearing the sprocket.
Wayne Dalton doors, particularly the pinch-resistant models with TorqueMaster spring systems inside a tube, develop a characteristic rumble when the internal spring bearings dry out. Those springs sit inside the torsion tube, not on the outside, so homeowners assume the door needs no lubrication. The spring is still moving, still wearing, and still needs attention. If you have a Wayne Dalton with a TorqueMaster system and you’re hearing a low rumble, that’s a spring bearing on its way out, and it requires a professional with brand-specific knowledge of that system.
Opens Fine But Won’t Close: Sensor and Limit Switch Logic
A door that opens normally but refuses to close is the most common opener complaint we hear in Oxnard, and in most cases it takes less than five minutes to fix. The opener isn’t broken; it’s refusing to close for a reason the safety system considers valid. Here’s the sequence to run through:
Sensor alignment (the photo eyes)
Those two small units mounted near the floor on either side of the door shoot an invisible beam between them. If anything blocks the beam or knocks the sensors out of alignment, the opener refuses to close and flashes a light as a signal. Check that both sensors have small LED lights lit (usually green on one, amber on the other when aligned). Check that no tools, boxes, leaves, or cobwebs block the path. Then loosen the mounting nuts and adjust each sensor until the lights both come on solid. In Oxnard garages that sit below grade, spiders love building webs across the sensor lenses in summer; wipe the lenses clean as part of this check.
Limit switch drift
If the sensors are aligned but the door still won’t close all the way, or closes and immediately reverses, the close limit switch has likely drifted out of adjustment. The limit switch is a mechanical or electronic stop that tells the opener where “closed” is. In older screw-drive Genie and Craftsman models, the limit screw physically drifts over time. In newer LiftMaster and Chamberlain belt-drive units, the electronic limit can lose calibration after a power surge. Recalibration procedures vary by brand and model, and the wrong adjustment can send the door crashing down too hard. This is one of those fixes that sounds simple and goes wrong quickly; our technicians recalibrate limits on dozens of Oxnard openers each year for homeowners who tried it themselves and ended up with worse behavior.
Force setting too low
If the door closes a foot and reverses, especially on a cold morning, the close force setting is too low for the actual resistance, and the opener thinks it hit an obstruction. This is more common on doors that have gained weight over the years (paint, insulation, moisture absorption in wood), or doors whose springs are getting tired but haven’t fully failed yet. If you’re adjusting force upward repeatedly, the force isn’t the problem; the spring is the problem. A tired spring will eventually fail. Get it replaced before it does.
Error Code Translation: LiftMaster, Chamberlain, Genie, and Craftsman Blinking Lights
Modern garage door openers communicate through blinking light patterns. Each brand uses a different code, and knowing the code saves you the time and cost of a callout for something trivial, or worse, ignoring a code that signals a real safety problem. Here are the patterns we see most often on Oxnard service calls:
LiftMaster and Chamberlain
Both brands are manufactured by the Chamberlain Group and share a code language. Count the flashes on the opener’s main light after the fault occurs:
- One flash typically means the safety sensor is misaligned, blocked, or wired incorrectly. Clean the lenses, confirm the lights are on, and realign.
- Two flashes indicate the door is reversing due to an obstruction detected by the force sensor, or the force setting is too low. Clear any obstruction in the track and check the bottom rubber seal for debris.
- Four flashes mean the sensors are misaligned at a more significant level, or one sensor has failed internally and needs replacement.
- Five flashes often indicate a motor overheat condition on LiftMaster units. Let the opener cool for fifteen minutes and try again; repeated five-flash faults point to a door that’s too heavy for the opener or a motor on its way out.
Chamberlain openers with MyQ also report error codes through the app, which can distinguish between sensor faults and logic board faults without any guesswork.
Genie
Genie openers use LED color and flash patterns rather than just flash counts. A red light on the opener while the door refuses to close almost always means the safe-t-beam sensors are blocked or misaligned. A green light that pulses slowly then goes out points to a failing capacitor or logic board. On Genie’s Intellicode models, a rapidly flashing red light while the door won’t open at all typically means the logic board has detected a sensor fault and locked out operation until the fault clears.
Craftsman
Craftsman openers made after 2005 are rebadged Chamberlain units and use the same flash code system listed above. Older Craftsman units from the 1990s and early 2000s (typically screw-drive models with a green logic board) use a simpler variant: one flash for sensor fault, two for force reversal, and a constantly lit light for a failed logic board. If your Craftsman opener is more than fifteen years old and showing a solid light with no motor response, the logic board has failed, and replacement parts are hard to source. At that point, a new opener is the sensible path, either another Craftsman-compatible Chamberlain unit or a LiftMaster.
Raynor openers generally follow Chamberlain code patterns as well, since many Raynor residential units are manufactured under license using the same platform. If you have a Raynor opener and the flash patterns above don’t match, we’ll diagnose it on a service call; our technicians carry Raynor-specific reference materials and parts for side-mount Raynor jackshaft units, which operate on a different logic tree entirely.
Spring Tension Indicators You Can Assess From the Ground (Without Touching Anything)
Garage door springs are the most dangerous component in your home, full stop. A torsion spring mounted above the door holds hundreds of pounds of stored energy, and when it fails, the release is violent. Never, under any circumstances, attempt to adjust, repair, or remove a torsion or extension spring yourself. But you can assess spring health safely from the ground, and that assessment tells you whether your next step is a phone call or a can of lubricant.
Torsion spring appearance: Garage doors have either one spring centered above the door or two springs, one on each side. Look at the spring’s visible surface. Rust and corrosion are normal and cosmetic, but a visible gap in the spring coil – a split where the steel has separated – means the spring has broken and must be replaced. In Oxnard’s salt-air environment, we see torsion springs fail from corrosion ten years earlier than the same spring fails in a dry inland climate. If your door is over ten years old and the spring shows deep rust pitting, budget for replacement before it breaks, not after.
Extension spring indicators: Extension springs run along the horizontal tracks on either side of the door, above the track line. Safety cables should run through the center of each spring; that’s code in California and it prevents a broken spring from flying across the garage when it snaps. If you can see an extension spring without a safety cable running through it, that spring is a hazard waiting to fail, and it’s likely the original pre-code installation.
Balance test from the ground: Disengage the opener as described in the first section and lift the door by hand. A door that holds position at waist height has healthy springs. A door that drifts down when you release it has springs losing tension. A door that’s heavy from the first inch of lift has either a broken spring or springs that have stretched over years of use. If the door feels heavy, stop testing it and call a professional. Each test cycle on a broken spring can damage the door panels and tracks further.
LiftMaster openers on doors with failing springs will often show the two-flash or five-flash error codes discussed above, because the opener is working harder than it was designed to work. The opener isn’t the problem; it’s the messenger.
When Remote Troubleshooting Actually Fixes It vs. When It Masks a Bigger Problem
Some garage door problems genuinely respond to remote troubleshooting or simple DIY fixes. Others only appear to be fixed temporarily, then fail again harder and more expensively. Knowing the difference saves money and keeps your family safe. Our technicians diagnose over the phone all the time, and we’re glad to talk through what you’re seeing before a service call to Oxnard. You can also explore How to Hire a Garage Door Contractor in Oxnard: A Step-by-Step Guide for help choosing the right pro. Here’s how we separate the quick fixes from the trouble:
Genuine remote fixes are problems in the control system: dead remote batteries, remotes that lost programming, wall buttons with loose wires, safety sensors knocked out of alignment by a bicycle or lawn mower, or a logic board that needs a power-cycle reset. These fixes are safe, simple, and permanent without touching any mechanical component. If your door moves fine by hand and the problem is in the opener’s control path, you can often fix it yourself in ten minutes.
Masked mechanical failures are the dangerous ones. A homeowner sprays lubricant onto a squealing spring and the squeal goes quiet for a week, then the spring snaps. A homeowner adjusts force settings upward repeatedly to compensate for a tired spring, then the spring fails on a Tuesday morning while the door is open, and the door crashes down bent because the opener couldn’t hold it. A homeowner replaces a $30 remote because the door “sometimes doesn’t respond,” when the actual issue is a logic board that’s failing intermittently and will soon lock the door entirely. Every one of these scenarios starts with a fix that seemed to work.
The telltale signs that a “fix” is masking a mechanical problem: the door’s balance test feels different than it did before, the opener motor sounds like it’s working harder, the problem comes back within weeks, or you find yourself adjusting settings more frequently. If any of those are true, the mechanical system is degrading and the right fix is to address the actual component, not the symptom.
Common Mistakes to Avoid
- Lubricating with WD-40. WD-40 is designed to displace water and free stuck parts. On a garage door chain, it strips the existing grease and attracts granular dirt that accelerates wear. Use a silicone-based garage door lubricant on hinges, rollers, and springs only.
- Adjusting force settings without checking spring condition first. Force adjustments are the most over-adjusted setting on every opener. If your door is getting heavier, the spring is getting weaker. Compensating with force just hides a spring that will eventually break.
- Replacing the opener when the spring is the problem. We’ve lost count of the number of new lifters we’ve seen in Oxnard garages that couldn’t lift the door on day one because the real issue was a broken torsion spring. The opener wasn’t broken; it was overloaded.
- Ignoring safety sensor misalignment as “just the sensors.” Those sensors are there to keep your door from closing on a car, a child, or a pet. Bypassing or taping over misaligned sensors because the door “mostly works” eliminates the single most important safety feature on your opener. Fix the alignment, don’t defeat the system.
- Testing a suspect door with your body underneath it. Never stand under a door that you suspect has spring problems. Test from the side. When a spring or cable fails, the door falls straight down with more force than a person can catch or hold.
- Buying generic replacement parts without checking your brand. Genie tracks, LiftMaster rails, and Wayne Dalton bolt patterns are not interchangeable. The wrong part often fits “close enough” for a week and then fails. We work on LiftMaster, Chamberlain, Genie, Clopay, Amarr, Wayne Dalton, Craftsman, and Raynor systems specifically because each brand has its own parts spec and failure modes.
See the difference
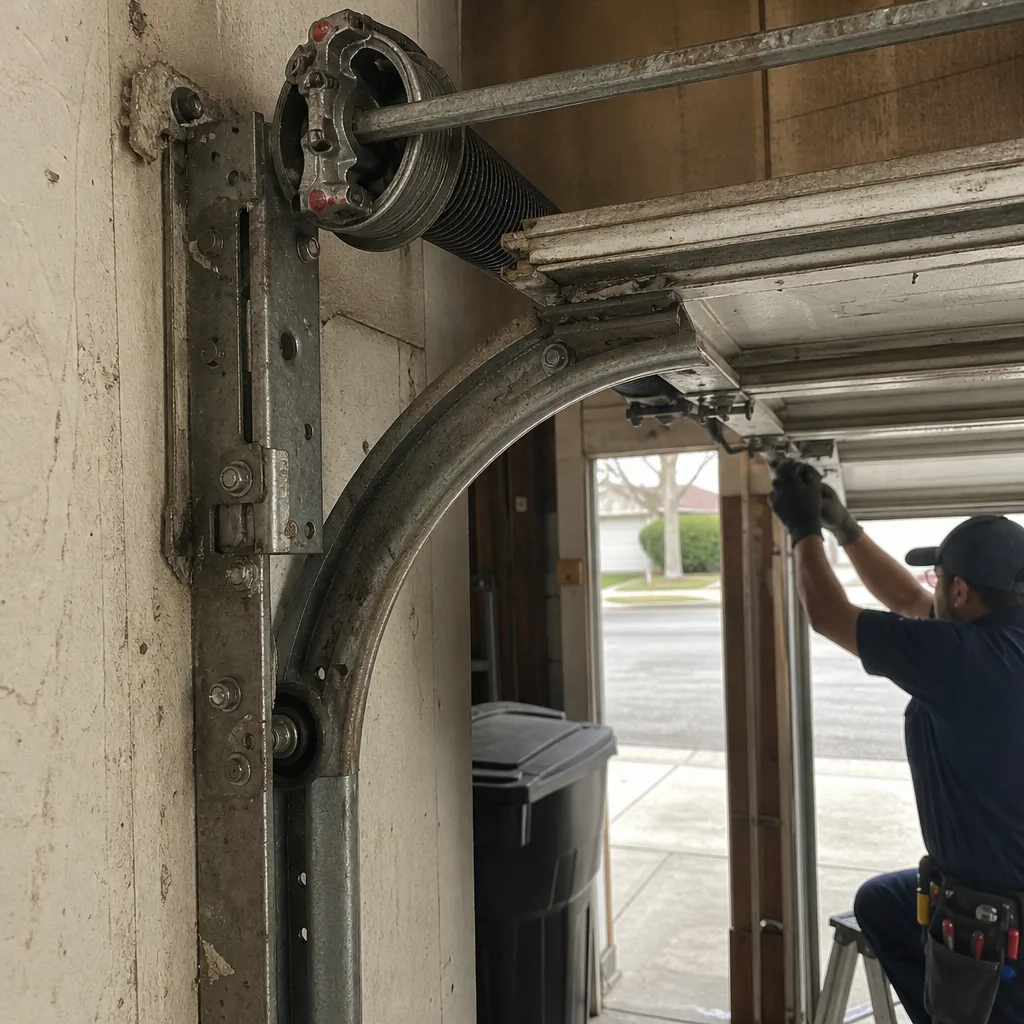 Before
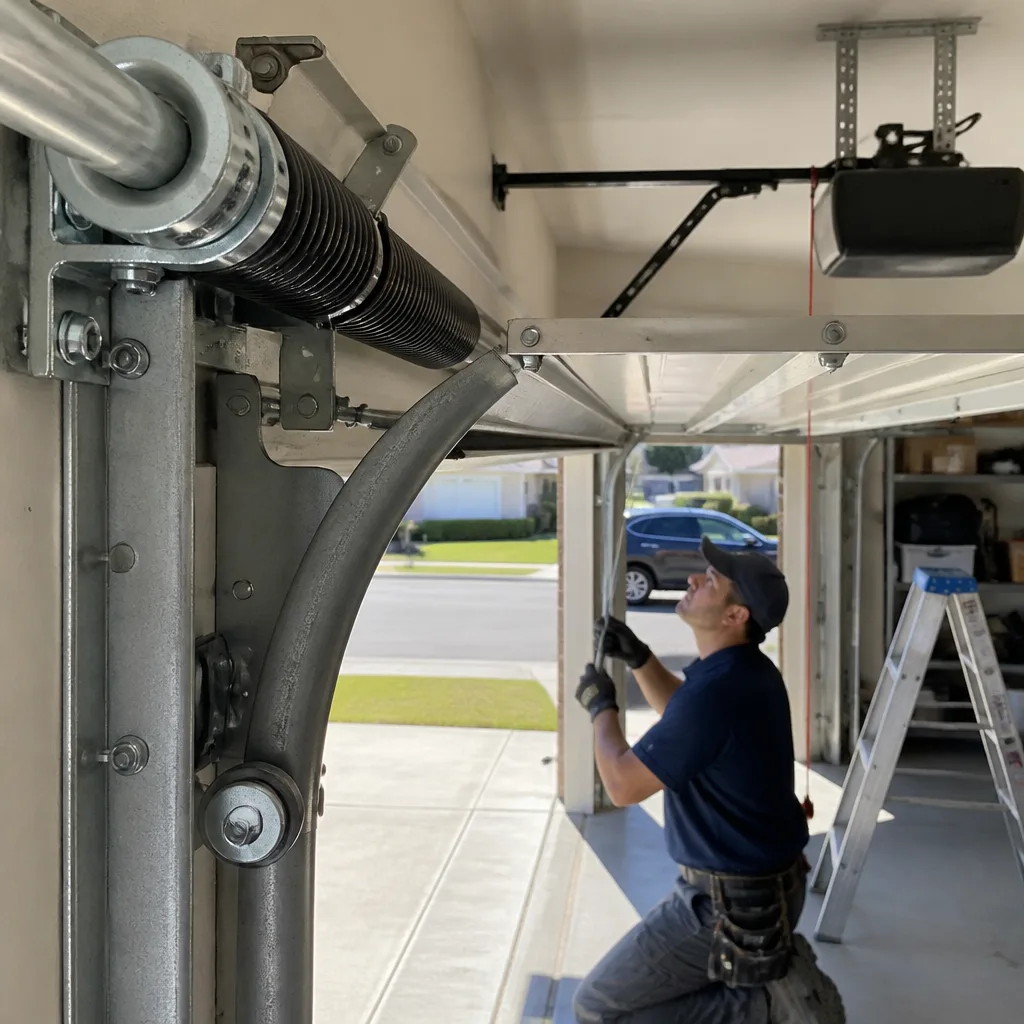 After
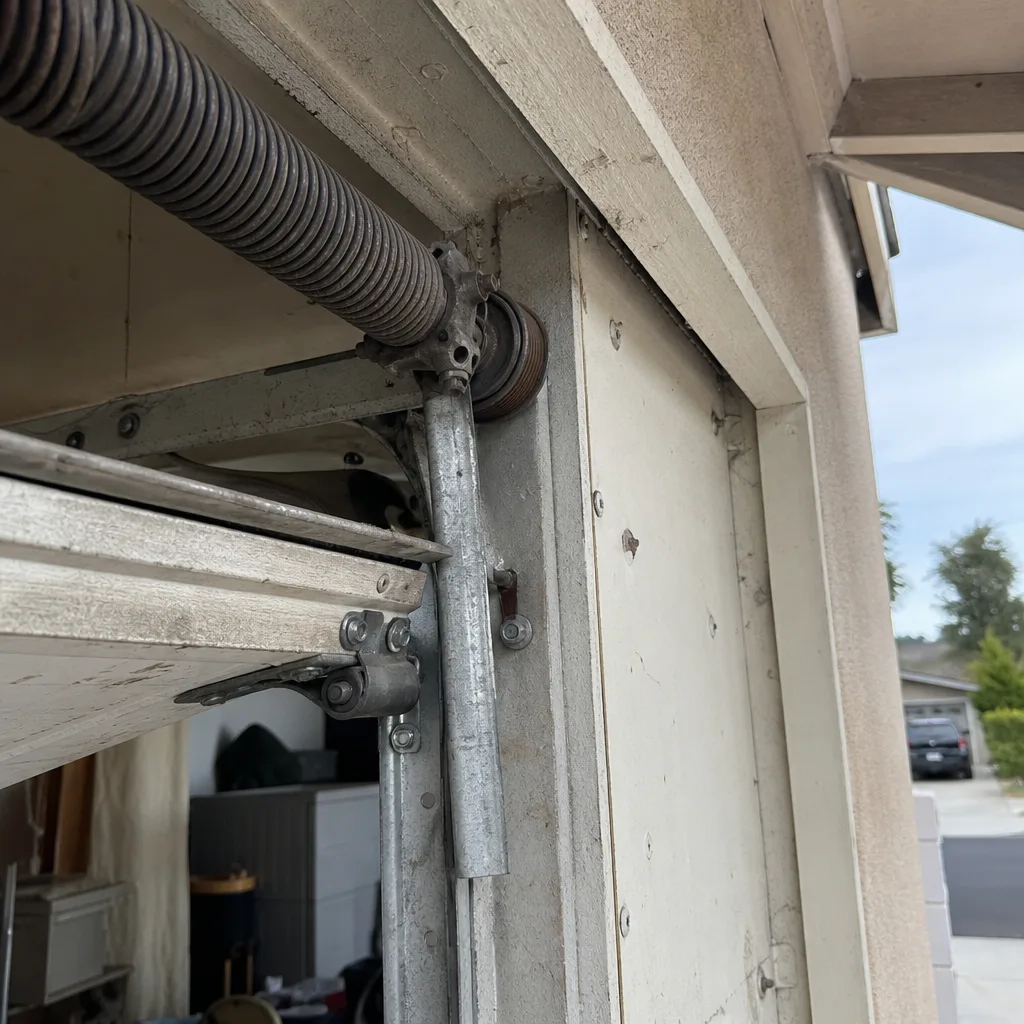 Before
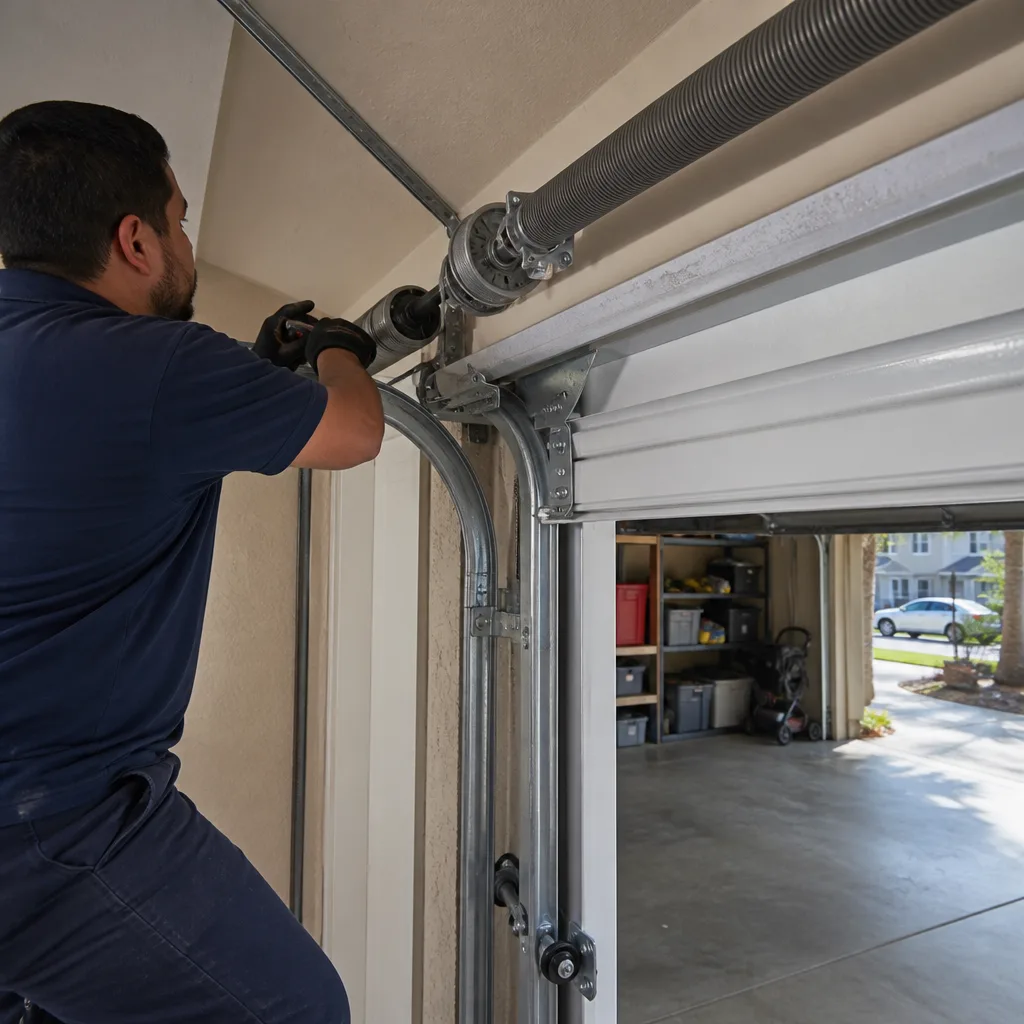 After
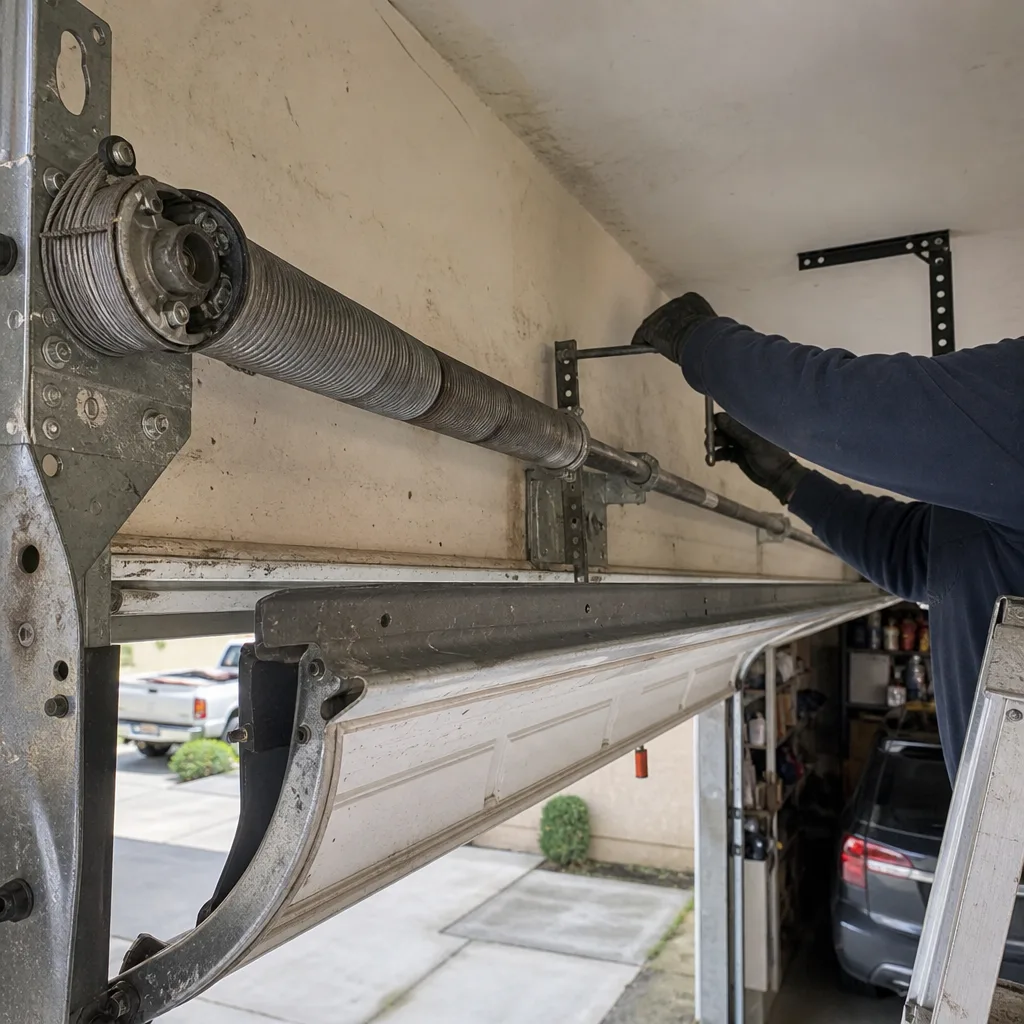 Before
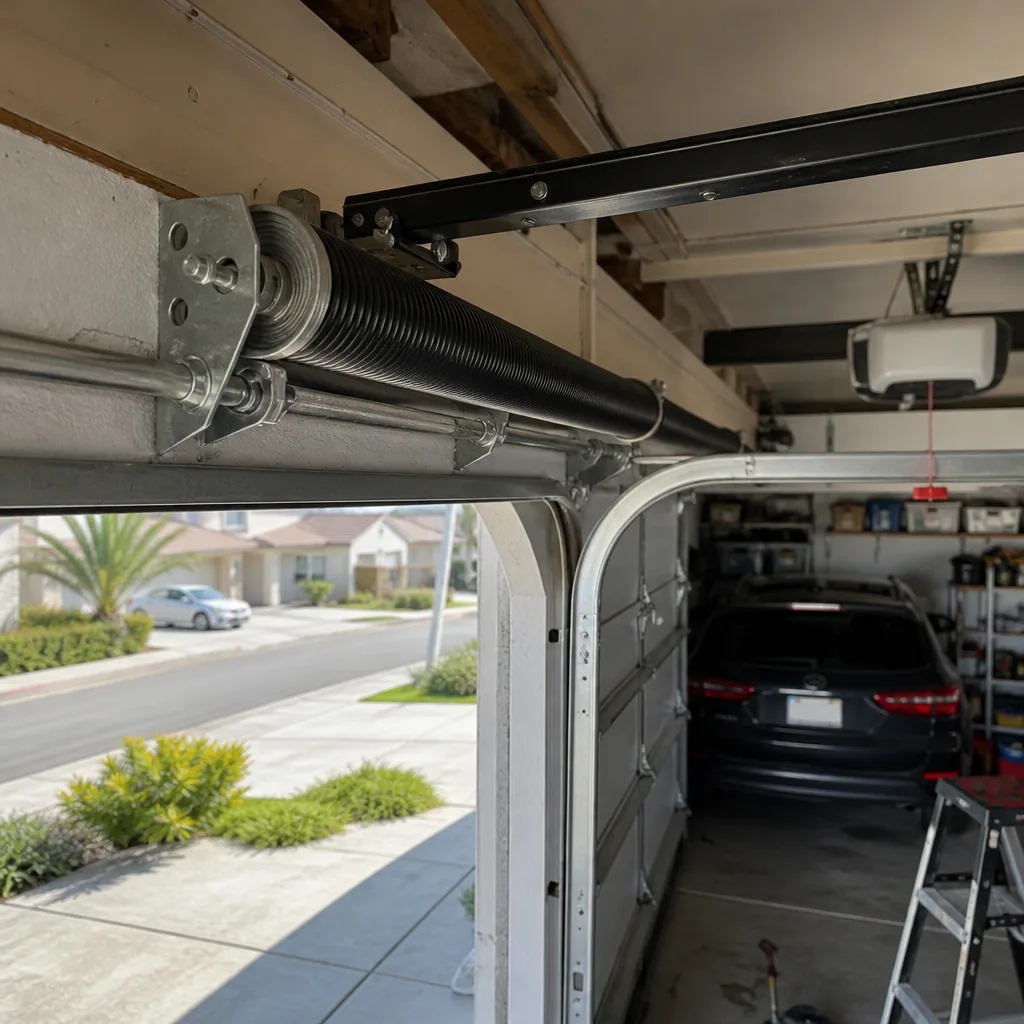 After
When to Call a Professional
Call a professional when any of these are true: your door doesn’t pass the balance test, you see a visible gap in a torsion spring, you hear grinding from inside the opener unit, your door has come off its tracks, or you’ve tried the simple fixes above and the problem persists. These situations involve stored energy, heavy doors, and electrical components that can injure you or make the problem worse when handled incorrectly.
Our technicians work on garage doors exclusively. That focus means we carry brand-specific parts for LiftMaster, Chamberlain, Genie, Clopay, Amarr, Wayne Dalton, Craftsman, and Raynor on every truck, and we diagnose your specific system rather than installing whatever’s on hand. If you’re in Oxnard and your diagnostic sequence points to a mechanical or electrical fault, Garage Door Repair in Oxnard offers a straightforward path: we’ll assess your door, tell you what’s wrong, and quote the fix before any work starts. Call (833) 706-7472.
Frequently Asked Questions
In most cases, the emergency release cord has been pulled and the opener trolley is disengaged from the chain or belt, meaning the motor runs but the door stays put. Reconnect the trolley by pulling the release cord toward the door until it clicks. If the release cord hasn’t been pulled and the motor runs without moving the door, you likely have a stripped gear inside the opener (common on chain-drive LiftMaster and Craftsman units) or a broken torsion spring that’s letting the opener spin without lifting the door.
Garage door repair in Oxnard typically runs from $150 for minor fixes like sensor alignment or roller replacement to $350 for spring replacement, depending on door size and spring type. Logic board replacement on newer LiftMaster and Chamberlain units runs higher because the boards are model-specific. We quote every repair before work starts, so the price you hear is the price you pay. Call (833) 706-7472 for a free estimate.
No. Torsion springs hold hundreds of pounds of tension and extension springs store energy that releases violently when they break. Spring replacement is the one garage door repair that no homeowner should attempt under any circumstances. Professional spring replacement takes about an hour with the right tools and training, and it costs far less than a hospital visit.
A door that reverses before closing is responding to one of three inputs: the safety sensors detect an obstruction or are misaligned, the close force setting is too low for the door’s actual resistance, or the close limit switch needs recalibration to match the door’s actual closed position. Start with sensor alignment, then check for obstructions along the track, and if those don’t resolve it, the limit and force settings likely need professional adjustment.
A broken torsion spring shows a visible gap in the coil, typically a one to two inch separation where the steel snapped. A worn spring looks intact but the door feels heavy when you lift it manually after disengaging the opener. Both conditions require spring replacement; a worn spring is simply a break waiting to happen, often within months.
We service LiftMaster, Chamberlain, Genie, Clopay, Amarr, Wayne Dalton, Craftsman, and Raynor doors and openers. Those eight brands cover the vast majority of residential garage doors in North America, including nearly every door we see in Oxnard. If your door carries a different brand name, call us anyway; we’ll tell you honestly whether we can source the right parts for it, and Garage Door Opener Repair in Oxnard covers the opener side regardless of who built the door panel.
The Bottom Line
Garage door troubleshooting isn’t about guessing; it’s about testing in the right order. The thirty-second balance test tells you whether your problem is mechanical or electronic. Blinking light codes translate into specific brands and specific faults. Noises point to specific wearing parts. And knowing when to call a professional is as important as knowing how to fix things yourself. Garage doors carry hundreds of pounds and serious stored energy; the safe fixes are on the control side, and the dangerous ones are on the spring and cable side. If you’ve worked through this guide and you’re still unsure, or if your door failed the balance test, Garage Door Installation in Oxnard and our repair team are here. Garage Door Repair Oxnard home is your starting point. Call (833) 706-7472 and we’ll talk through what you’re seeing before we ever send a truck.
Written by the team at Garage Door Repair Oxnard, serving Oxnard since 2016. Browse more guides & resources on our blog.